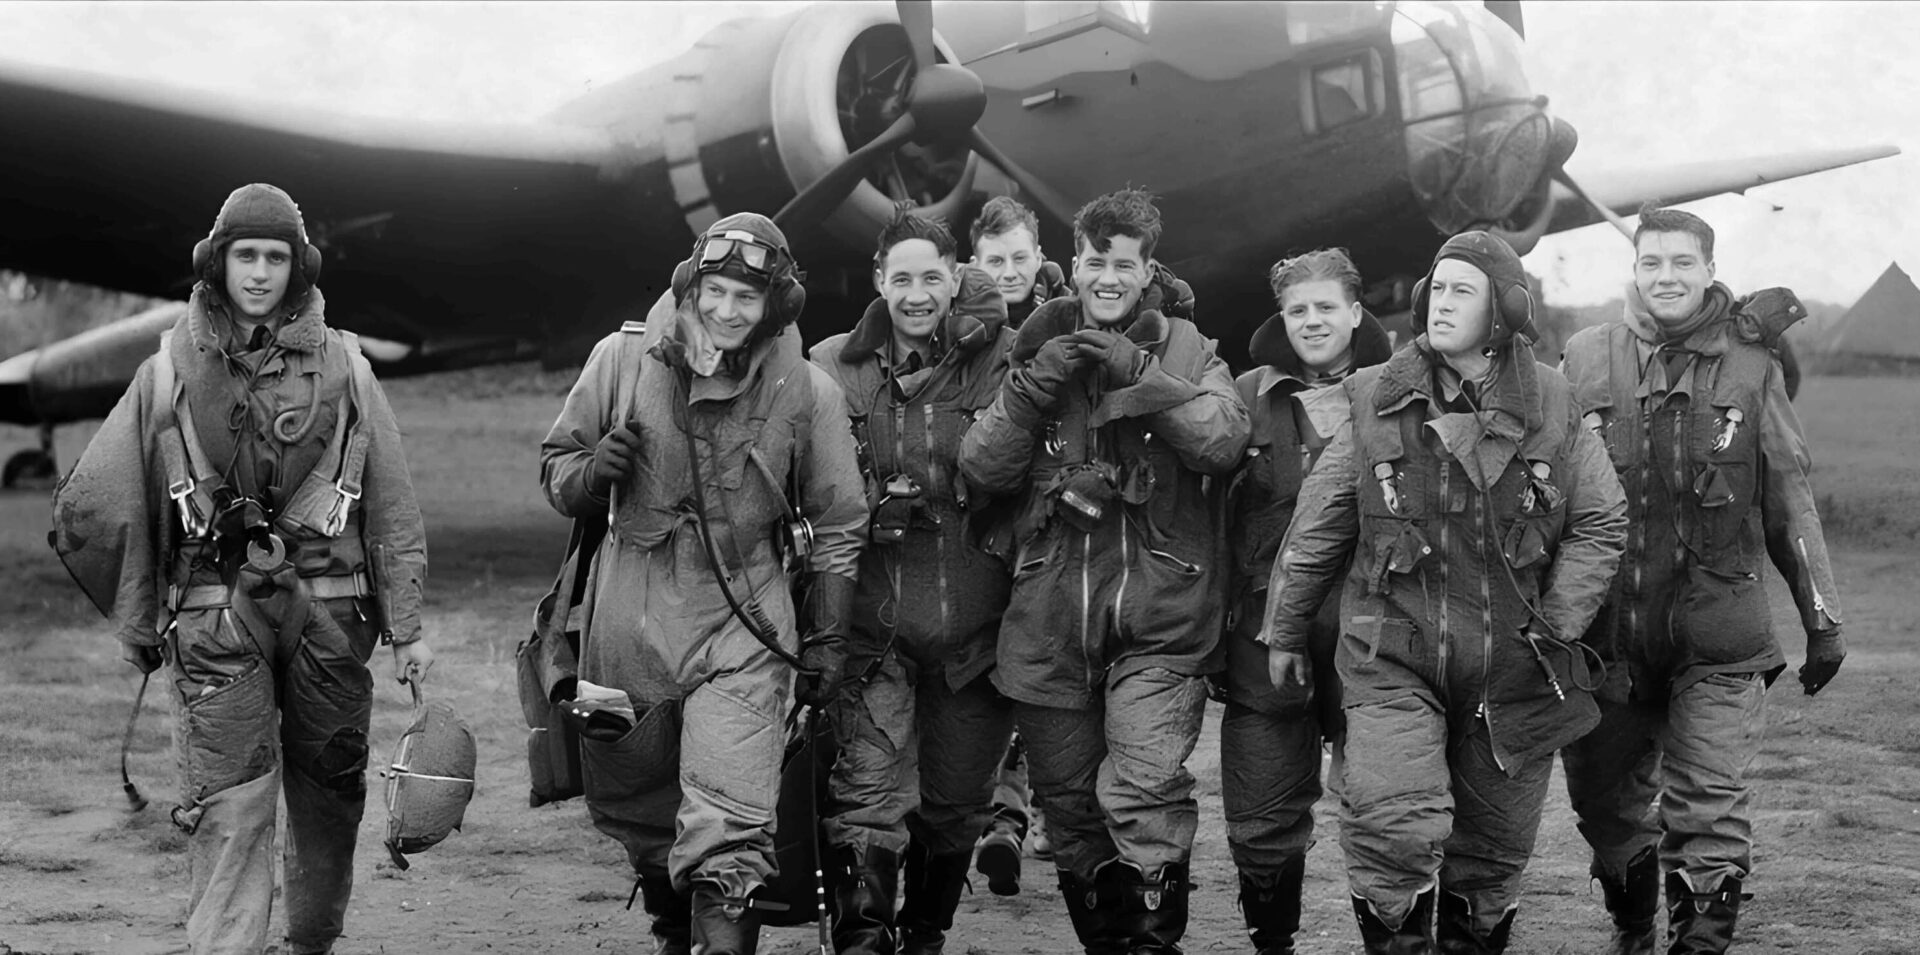
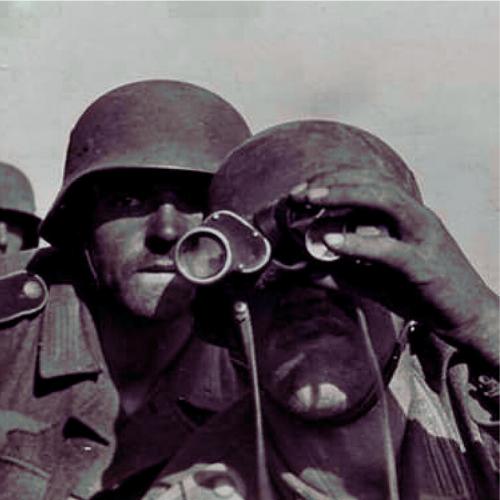
The Battle of Britain: Integrated Air Defence, Attrition Dynamics, and the First Strategic Air Defeat, July–October 1940
Executive Summary
The Battle of Britain (10 July–31 October 1940) was the first major military campaign fought entirely by air forces and the first strategic defeat suffered by Nazi Germany. Contrary to popular narratives centred exclusively on pilot heroism, the campaign was fundamentally a contest between systems: the German Luftwaffe’s attempt to impose air superiority (Luftherrschaft) in preparation for Operation Sea Lion, and the British Royal Air Force’s sophisticated strategy of air denial.
At the heart of Britain’s success stood the Dowding System, the world’s first fully integrated air defence network. By fusing radar detection, visual observation, centralized command, and radio-controlled interception, the RAF transformed information into a decisive weapon. This study presents a unified technical and operational analysis of the battle, examining strategic constraints, aircraft performance, attritional dynamics, industrial production, and electronic warfare. The Battle of Britain ultimately demonstrated that air superiority is not achieved by numbers alone, but by the intelligent integration of technology, organization, and doctrine.
1. Strategic Context: The Structural Impossibility of Operation Sea Lion
IMAGE SUGGESTION 1
Subject: Operation Sea Lion Planning Map
Description: German invasion zones along southern England, Luftflotte operational areas, and RAF Group boundaries.
Caption: Operation Sea Lion depended entirely on the Luftwaffe achieving uncontested air superiority over southern England.
1. Strategic Context: The Structural Impossibility of Operation Sea Lion
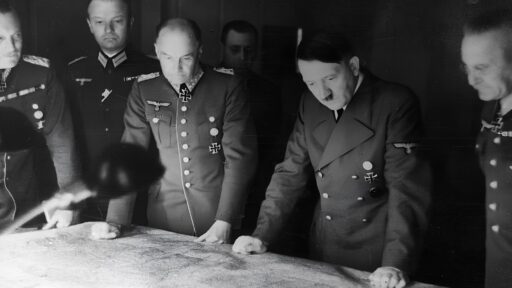
Following the collapse of France in June 1940, Great Britain remained the only major power actively resisting Germany in Western Europe. Adolf Hitler initially expected Britain to seek terms; when this failed to materialize, he issued Directive No. 16 on 16 July 1940, ordering preparations for an invasion of England under the codename Operation Sea Lion (Unternehmen Seelöwe).
1.1 Naval and Strategic Asymmetry
Operation Sea Lion was strategically flawed from its inception. The German Kriegsmarine had suffered severe losses during the Norwegian campaign and lacked both the surface strength and amphibious capability required to challenge the Royal Navy in home waters. In contrast, the Royal Navy retained overwhelming numerical and qualitative superiority in destroyers, cruisers, and capital ships.
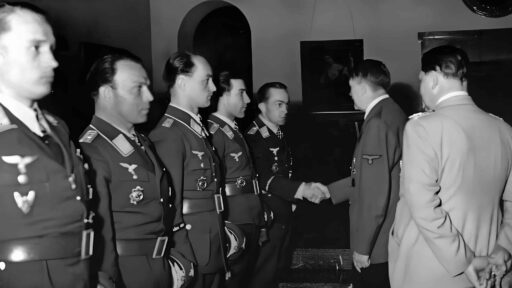
Grand Admiral Erich Raeder informed Hitler unequivocally that an invasion could only succeed if the RAF were neutralized and British naval forces denied access to the English Channel. As a result, the burden of strategic success fell upon the Luftwaffe, an air force optimized for operational and tactical support rather than sustained strategic campaigns. Under Hermann Göring’s command, it was assigned the task of destroying RAF Fighter Command within a matter of weeks—an objective fundamentally misaligned with its doctrine, training, and force structure.
2. The Dowding System: Britain’s Architecture of Survival
IMAGE SUGGESTION 2
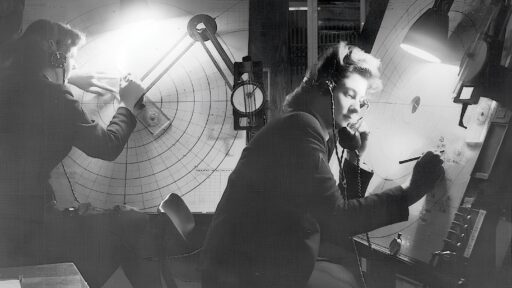
Subject: Bentley Priory Filter Room
Description: WAAF plotters tracking incoming raids on the operations table.
Caption: The Dowding System fused radar, observers, and command into a single operational picture.
2. The Dowding System: Britain’s Architecture of Survival
The decisive factor in the Battle of Britain was not aircraft performance alone but the integrated C3I (Command, Control, Communications, and Intelligence) system developed under Air Chief Marshal Hugh Dowding. Known collectively as the Dowding System, this network represented a revolutionary approach to air defence.
2.1 Detection: Chain Home Radar
IMAGE SUGGESTION 3
Subject: Chain Home Radar Towers
Description: Coastal radar masts with transmitter and receiver arrays.
Caption: Chain Home provided Britain with strategic early warning unmatched in 1940.
2.1 Detection: Chain Home Radar
Britain was the first nation to deploy radar as a national defensive shield. The Chain Home (CH) network consisted of fixed radar stations operating in the high-frequency band, capable of detecting high-altitude aircraft formations at ranges exceeding 100 miles. Complementing this system, Chain Home Low (CHL) stations provided coverage against low-level attacks designed to evade standard radar detection.
British aircraft were equipped with rudimentary Identification Friend or Foe mechanisms, allowing radar operators to differentiate friendly fighters from hostile formations. While technologically primitive by later standards, this capability reduced fratricide and enhanced operational confidence.
2.2 Information Fusion: The Filter Room
Raw radar returns were incomplete and often contradictory. The Dowding System’s critical innovation lay in the Filter Room at Bentley Priory, where data from radar stations, the Royal Observer Corps, and signals intelligence were consolidated into a coherent operational picture.
Women’s Auxiliary Air Force plotters translated incoming reports into standardized tracks, marked by position, altitude, and estimated strength. These filtered plots were transmitted down the command chain to Group and Sector headquarters, enabling real-time decision-making at every level of Fighter Command.
2.3 Ground-Controlled Interception
This system enabled Ground-Controlled Interception (GCI), allowing RAF fighters to remain on the ground until enemy raids were confirmed. Instead of wasteful standing patrols, aircraft were scrambled only when necessary and guided precisely to interception points. The result was a dramatic force multiplier: despite numerical inferiority, the RAF maximized pilot endurance, fuel efficiency, and tactical effectiveness.
3. Aircraft Performance and Tactical Dynamics
IMAGE SUGGESTION 4
Subject: Spitfire and Hurricane Formation
Description: Comparative view of RAF fighter types in flight.
Caption: Spitfires countered escorts while Hurricanes destroyed bomber formations.
3. Aircraft Performance and Tactical Dynamics
The air fighting of 1940 was dominated by three aircraft types: the Supermarine Spitfire, the Hawker Hurricane, and the Messerschmitt Bf 109E.
3.1 Spitfire Mk I versus Bf 109E
The Spitfire’s elliptical wing produced low wing loading and excellent turning performance, giving it a decisive advantage in sustained horizontal manoeuvres. The Bf 109E, powered by the fuel-injected Daimler-Benz DB 601 engine, excelled in climb rate and negative-G manoeuvres, allowing German pilots to disengage vertically at will.
These technical differences shaped tactics. German pilots favoured high-speed diving attacks followed by rapid climbs, while British pilots attempted to draw engagements into turning fights where the Spitfire’s handling superiority could be exploited.
3.2 The Hawker Hurricane: Operational Backbone
Although less glamorous than the Spitfire, the Hurricane accounted for the majority of confirmed Luftwaffe losses. Its robust construction, stable gun platform, and ease of repair made it ideally suited to sustained combat operations. RAF doctrine paired Hurricanes against bomber formations while Spitfires engaged escorting fighters, a division of labour that maximized overall combat effectiveness.
4. Phase I: The Channel Battles (Kanalkampf)
IMAGE SUGGESTION 5
Subject: Stuka Under Attack (Gun Camera)
Description: RAF gun-camera footage of a Ju 87 during interception.
Caption: The vulnerability of dive bombers in contested airspace.
4. Phase I: The Channel Battles (Kanalkampf)
From July to early August 1940, the Luftwaffe conducted limited attacks against coastal convoys and ports. These operations served primarily as reconnaissance-in-force, testing British responses and seeking to lure RAF fighters into combat over water.
Dowding resisted the temptation to commit large forces, instead employing controlled and economical interceptions. This discipline denied the Luftwaffe its hoped-for attritional advantage and preserved Fighter Command’s strength for the decisive phase.
The vulnerability of the Junkers Ju 87 Stuka became apparent during this period. Designed for operations in uncontested airspace, the dive bomber suffered catastrophic losses when confronted by modern fighters and was withdrawn from the campaign by mid-August.
5. Phase II: Adlerangriff – The Assault on Fighter Command
IMAGE SUGGESTION 6
Subject: Bomb Damage at RAF Biggin Hill
Description: Destroyed operations buildings and cratered runways.
Caption: Sector stations formed the nervous system of Fighter Command.
5. Phase II: Adlerangriff – The Assault on Fighter Command
On 13 August 1940, the Luftwaffe launched Adlerangriff (“Eagle Attack”), shifting its focus to the systematic destruction of RAF Fighter Command infrastructure. Sector stations in southeastern England—Biggin Hill, Kenley, Hornchurch, and others—were subjected to sustained bombing.
These facilities were not merely airfields but command nodes housing operations rooms and communications links. By late August, several were operating from improvised facilities amid rubble. Pilot fatigue and mounting casualties brought Fighter Command perilously close to collapse.
Critically, however, German intelligence failed to recognize how near Britain was to defeat, misinterpreting operational strain as evidence of imminent victory.
6. Industrial Warfare and the Beaverbrook Reforms
IMAGE SUGGESTION 7
Subject: Spitfire Production Line
Description: Castle Bromwich factory assembly floor.
Caption: Industrial output sustained Fighter Command when pilot losses mounted.
6. Industrial Warfare and the Beaverbrook Reforms
Contrary to later myths, aircraft production did not favour Germany. Under Lord Beaverbrook’s leadership, the Ministry of Aircraft Production streamlined industrial processes, prioritized fighter output, and created an efficient repair and salvage system.
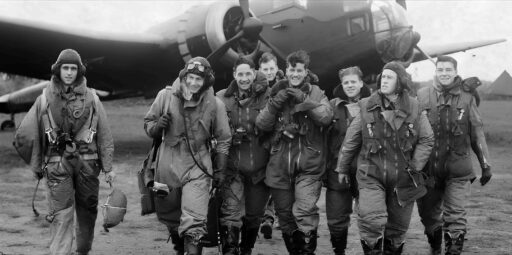
British factories consistently outproduced Germany in fighter aircraft during the critical months of the battle. The true limiting factor was trained pilots, not airframes—a deficiency partially mitigated by the integration of experienced airmen from across the Commonwealth and occupied Europe.
7. Strategic Error: The Shift to London
IMAGE SUGGESTION 8
Subject: London Docks Burning (7 September 1940)
Description: Night photograph of docklands fires.
Caption: The strategic error that relieved pressure on RAF infrastructure.
7. Strategic Error: The Shift to London
In late August 1940, an accidental bombing of London triggered a retaliatory RAF raid on Berlin. Enraged, Hitler ordered a strategic shift: Fighter Command installations were deprioritized in favour of mass attacks on London.
This decision proved decisive. The immediate pressure on sector stations was relieved, allowing Fighter Command to repair infrastructure, restore communications, and rotate exhausted pilots. Simultaneously, German bombers were forced to penetrate deeper into defended airspace, increasing exposure to interception.
8. The Climax: 15 September 1940
IMAGE SUGGESTION 9
Subject: Heinkel He 111 Under Fire (Gun Camera)
Description: RAF gun-camera footage during the mass daylight raids.
Caption: 15 September marked the psychological and operational breaking point of the Luftwaffe.
8. The Climax: 15 September 1940
On 15 September, believing the RAF to be near defeat, the Luftwaffe launched its largest daylight raids against London. Instead, German formations encountered concentrated resistance from multiple RAF groups.
Losses were severe and unmistakable. Two days later, Hitler postponed Operation Sea Lion indefinitely. Air superiority had not been achieved, and without it invasion was impossible.
9. The Night Blitz and the Battle of the Beams
IMAGE SUGGESTION 10
Subject: Knickebein Radio Navigation Diagram
Description: German beam-guidance system intersecting over a British city.
Caption: The air war evolved into electronic warfare as Britain jammed German navigation systems.
9. The Night Blitz and the Battle of the Beams
Unable to operate effectively by day, the Luftwaffe shifted to night bombing. This phase introduced a new dimension of conflict: electronic warfare. German radio-navigation systems such as Knickebein and X-Gerät were countered by British jamming and deception, including false navigation signals and decoy fire sites.
The resulting “Wizard War” further reduced German bombing accuracy and underscored Britain’s growing scientific and technical edge.
10. Conclusion: Strategic Significance
The Battle of Britain marked the first strategic defeat of Nazi Germany and preserved Britain as a base for future Allied operations. It demonstrated conclusively that integrated air defence could defeat numerically superior forces, that civilian morale could withstand aerial bombardment, and that air superiority was an absolute prerequisite for amphibious invasion.
While the courage of “The Few” remains rightly celebrated, the true victory lay in the effective fusion of technology, organization, and strategic restraint. The Battle of Britain was not merely an air battle—it was a triumph of systems thinking in modern warfare.
The Battle of Britain: Integrated Air Defence, Attrition Dynamics, and the First Strategic Air Defeat (July–October 1940)
Executive Summary
The Battle of Britain (10 July–31 October 1940) was the first major military campaign fought entirely by air forces and the first strategic defeat suffered by Nazi Germany. Contrary to popular narratives centred exclusively on pilot heroism, the campaign was fundamentally a contest between systems: the German Luftwaffe’s attempt to impose air superiority (Luftherrschaft) in preparation for Operation Sea Lion, and the British Royal Air Force’s sophisticated strategy of air denial.
At the heart of Britain’s success stood the Dowding System, the world’s first fully integrated air defence network. By fusing radar detection, visual observation, centralized command, and radio-controlled interception, the RAF transformed information into a decisive weapon. This study presents a unified technical and operational analysis of the battle, examining strategic constraints, aircraft performance, attritional dynamics, industrial production, and electronic warfare. The Battle of Britain ultimately demonstrated that air superiority is not achieved by numbers alone, but by the intelligent integration of technology, organization, and doctrine.
1. Strategic Context: The Structural Impossibility of Operation Sea Lion
IMAGE SUGGESTION 1
Subject: Operation Sea Lion Planning Map
Description: German invasion zones along southern England, Luftflotte operational areas, and RAF Group boundaries.
Caption: Operation Sea Lion depended entirely on the Luftwaffe achieving uncontested air superiority over southern England.
1. Strategic Context: The Structural Impossibility of Operation Sea Lion
Following the collapse of France in June 1940, Great Britain remained the only major power actively resisting Germany in Western Europe. Adolf Hitler initially expected Britain to seek terms; when this failed to materialize, he issued Directive No. 16 on 16 July 1940, ordering preparations for an invasion of England under the codename Operation Sea Lion (Unternehmen Seelöwe).
1.1 Naval and Strategic Asymmetry
Operation Sea Lion was strategically flawed from its inception. The German Kriegsmarine had suffered severe losses during the Norwegian campaign and lacked both the surface strength and amphibious capability required to challenge the Royal Navy in home waters. In contrast, the Royal Navy retained overwhelming numerical and qualitative superiority in destroyers, cruisers, and capital ships.
Grand Admiral Erich Raeder informed Hitler unequivocally that an invasion could only succeed if the RAF were neutralized and British naval forces denied access to the English Channel. As a result, the burden of strategic success fell upon the Luftwaffe, an air force optimized for operational and tactical support rather than sustained strategic campaigns. Under Hermann Göring’s command, it was assigned the task of destroying RAF Fighter Command within a matter of weeks—an objective fundamentally misaligned with its doctrine, training, and force structure.
2. The Dowding System: Britain’s Architecture of Survival
IMAGE SUGGESTION 2
Subject: Bentley Priory Filter Room
Description: WAAF plotters tracking incoming raids on the operations table.
Caption: The Dowding System fused radar, observers, and command into a single operational picture.
2. The Dowding System: Britain’s Architecture of Survival
The decisive factor in the Battle of Britain was not aircraft performance alone but the integrated C3I (Command, Control, Communications, and Intelligence) system developed under Air Chief Marshal Hugh Dowding. Known collectively as the Dowding System, this network represented a revolutionary approach to air defence.
2.1 Detection: Chain Home Radar
IMAGE SUGGESTION 3
Subject: Chain Home Radar Towers
Description: Coastal radar masts with transmitter and receiver arrays.
Caption: Chain Home provided Britain with strategic early warning unmatched in 1940.
2.1 Detection: Chain Home Radar
Britain was the first nation to deploy radar as a national defensive shield. The Chain Home (CH) network consisted of fixed radar stations operating in the high-frequency band, capable of detecting high-altitude aircraft formations at ranges exceeding 100 miles. Complementing this system, Chain Home Low (CHL) stations provided coverage against low-level attacks designed to evade standard radar detection.
British aircraft were equipped with rudimentary Identification Friend or Foe mechanisms, allowing radar operators to differentiate friendly fighters from hostile formations. While technologically primitive by later standards, this capability reduced fratricide and enhanced operational confidence.
2.2 Information Fusion: The Filter Room
Raw radar returns were incomplete and often contradictory. The Dowding System’s critical innovation lay in the Filter Room at Bentley Priory, where data from radar stations, the Royal Observer Corps, and signals intelligence were consolidated into a coherent operational picture.
Women’s Auxiliary Air Force plotters translated incoming reports into standardized tracks, marked by position, altitude, and estimated strength. These filtered plots were transmitted down the command chain to Group and Sector headquarters, enabling real-time decision-making at every level of Fighter Command.
2.3 Ground-Controlled Interception
This system enabled Ground-Controlled Interception (GCI), allowing RAF fighters to remain on the ground until enemy raids were confirmed. Instead of wasteful standing patrols, aircraft were scrambled only when necessary and guided precisely to interception points. The result was a dramatic force multiplier: despite numerical inferiority, the RAF maximized pilot endurance, fuel efficiency, and tactical effectiveness.
3. Aircraft Performance and Tactical Dynamics
IMAGE SUGGESTION 4
Subject: Spitfire and Hurricane Formation
Description: Comparative view of RAF fighter types in flight.
Caption: Spitfires countered escorts while Hurricanes destroyed bomber formations.
3. Aircraft Performance and Tactical Dynamics
The air fighting of 1940 was dominated by three aircraft types: the Supermarine Spitfire, the Hawker Hurricane, and the Messerschmitt Bf 109E.
3.1 Spitfire Mk I versus Bf 109E
The Spitfire’s elliptical wing produced low wing loading and excellent turning performance, giving it a decisive advantage in sustained horizontal manoeuvres. The Bf 109E, powered by the fuel-injected Daimler-Benz DB 601 engine, excelled in climb rate and negative-G manoeuvres, allowing German pilots to disengage vertically at will.
These technical differences shaped tactics. German pilots favoured high-speed diving attacks followed by rapid climbs, while British pilots attempted to draw engagements into turning fights where the Spitfire’s handling superiority could be exploited.
3.2 The Hawker Hurricane: Operational Backbone
Although less glamorous than the Spitfire, the Hurricane accounted for the majority of confirmed Luftwaffe losses. Its robust construction, stable gun platform, and ease of repair made it ideally suited to sustained combat operations. RAF doctrine paired Hurricanes against bomber formations while Spitfires engaged escorting fighters, a division of labour that maximized overall combat effectiveness.
4. Phase I: The Channel Battles (Kanalkampf)
IMAGE SUGGESTION 5
Subject: Stuka Under Attack (Gun Camera)
Description: RAF gun-camera footage of a Ju 87 during interception.
Caption: The vulnerability of dive bombers in contested airspace.
4. Phase I: The Channel Battles (Kanalkampf)
From July to early August 1940, the Luftwaffe conducted limited attacks against coastal convoys and ports. These operations served primarily as reconnaissance-in-force, testing British responses and seeking to lure RAF fighters into combat over water.
Dowding resisted the temptation to commit large forces, instead employing controlled and economical interceptions. This discipline denied the Luftwaffe its hoped-for attritional advantage and preserved Fighter Command’s strength for the decisive phase.
The vulnerability of the Junkers Ju 87 Stuka became apparent during this period. Designed for operations in uncontested airspace, the dive bomber suffered catastrophic losses when confronted by modern fighters and was withdrawn from the campaign by mid-August.
5. Phase II: Adlerangriff – The Assault on Fighter Command
IMAGE SUGGESTION 6
Subject: Bomb Damage at RAF Biggin Hill
Description: Destroyed operations buildings and cratered runways.
Caption: Sector stations formed the nervous system of Fighter Command.
5. Phase II: Adlerangriff – The Assault on Fighter Command
On 13 August 1940, the Luftwaffe launched Adlerangriff (“Eagle Attack”), shifting its focus to the systematic destruction of RAF Fighter Command infrastructure. Sector stations in southeastern England—Biggin Hill, Kenley, Hornchurch, and others—were subjected to sustained bombing.
These facilities were not merely airfields but command nodes housing operations rooms and communications links. By late August, several were operating from improvised facilities amid rubble. Pilot fatigue and mounting casualties brought Fighter Command perilously close to collapse.
Critically, however, German intelligence failed to recognize how near Britain was to defeat, misinterpreting operational strain as evidence of imminent victory.
6. Industrial Warfare and the Beaverbrook Reforms
IMAGE SUGGESTION 7
Subject: Spitfire Production Line
Description: Castle Bromwich factory assembly floor.
Caption: Industrial output sustained Fighter Command when pilot losses mounted.
6. Industrial Warfare and the Beaverbrook Reforms
Contrary to later myths, aircraft production did not favour Germany. Under Lord Beaverbrook’s leadership, the Ministry of Aircraft Production streamlined industrial processes, prioritized fighter output, and created an efficient repair and salvage system.
British factories consistently outproduced Germany in fighter aircraft during the critical months of the battle. The true limiting factor was trained pilots, not airframes—a deficiency partially mitigated by the integration of experienced airmen from across the Commonwealth and occupied Europe.
7. Strategic Error: The Shift to London
IMAGE SUGGESTION 8
Subject: London Docks Burning (7 September 1940)
Description: Night photograph of docklands fires.
Caption: The strategic error that relieved pressure on RAF infrastructure.
7. Strategic Error: The Shift to London
In late August 1940, an accidental bombing of London triggered a retaliatory RAF raid on Berlin. Enraged, Hitler ordered a strategic shift: Fighter Command installations were deprioritized in favour of mass attacks on London.
This decision proved decisive. The immediate pressure on sector stations was relieved, allowing Fighter Command to repair infrastructure, restore communications, and rotate exhausted pilots. Simultaneously, German bombers were forced to penetrate deeper into defended airspace, increasing exposure to interception.
8. The Climax: 15 September 1940
IMAGE SUGGESTION 9
Subject: Heinkel He 111 Under Fire (Gun Camera)
Description: RAF gun-camera footage during the mass daylight raids.
Caption: 15 September marked the psychological and operational breaking point of the Luftwaffe.
8. The Climax: 15 September 1940
On 15 September, believing the RAF to be near defeat, the Luftwaffe launched its largest daylight raids against London. Instead, German formations encountered concentrated resistance from multiple RAF groups.
Losses were severe and unmistakable. Two days later, Hitler postponed Operation Sea Lion indefinitely. Air superiority had not been achieved, and without it invasion was impossible.
9. The Night Blitz and the Battle of the Beams
IMAGE SUGGESTION 10
Subject: Knickebein Radio Navigation Diagram
Description: German beam-guidance system intersecting over a British city.
Caption: The air war evolved into electronic warfare as Britain jammed German navigation systems.
9. The Night Blitz and the Battle of the Beams
Unable to operate effectively by day, the Luftwaffe shifted to night bombing. This phase introduced a new dimension of conflict: electronic warfare. German radio-navigation systems such as Knickebein and X-Gerät were countered by British jamming and deception, including false navigation signals and decoy fire sites.
The resulting “Wizard War” further reduced German bombing accuracy and underscored Britain’s growing scientific and technical edge.
10. Conclusion: Strategic Significance
The Battle of Britain marked the first strategic defeat of Nazi Germany and preserved Britain as a base for future Allied operations. It demonstrated conclusively that integrated air defence could defeat numerically superior forces, that civilian morale could withstand aerial bombardment, and that air superiority was an absolute prerequisite for amphibious invasion.
While the courage of “The Few” remains rightly celebrated, the true victory lay in the effective fusion of technology, organization, and strategic restraint. The Battle of Britain was not merely an air battle—it was a triumph of systems thinking in modern warfare.
References
- Bungay, Stephen. The Most Dangerous Enemy: A History of the Battle of Britain. London: Aurum Press, 2000. https://www.penguinrandomhouse.com/books/103429/the-most-dangerous-enemy-by-stephen-bungay/
- Overy, Richard. The Battle of Britain: Myth and Reality. London: Penguin Books, 2000. https://www.penguin.co.uk/books/111/1110688/the-battle-of-britain/9780140294194.html
- Hooton, E. R. Luftwaffe at War: Blitzkrieg in the West. London: Ian Allan Publishing, 2007. https://www.ianallanpublishing.com/product/luftwaffe-at-war-blitzkrieg-in-the-west/
- Korda, Michael. With Wings Like Eagles: A History of the Battle of Britain. New York: HarperCollins, 2009. https://www.harpercollins.com/products/with-wings-like-eagles-michael-korda
- Churchill, Winston S. The Second World War, Vol. II: Their Finest Hour. London: Cassell, 1949. https://www.iwm.org.uk/collections/item/object/205022306
- Royal Air Force Museum. “Battle of Britain.” https://www.rafmuseum.org.uk/research/online-exhibitions/history-of-the-battle-of-britain/
- Imperial War Museums. “Battle of Britain.” https://www.iwm.org.uk/history/what-was-the-battle-of-britain
- The National Archives (UK). “Battle of Britain Records.” https://www.nationalarchives.gov.uk/help-with-your-research/research-guides/battle-of-britain/
- Encyclopaedia Britannica. “Battle of Britain.” https://www.britannica.com/event/Battle-of-Britain
- Oxford Dictionary of National Biography. “Dowding, Hugh Caswall Tremenheere.” https://www.oxforddnb.com/display/10.1093/ref:odnb/9780198614128.001.0001/odnb-9780198614128-e-32848
- Jones, R. V. Most Secret War: British Scientific Intelligence 1939–1945. London: Hamish Hamilton, 1978. https://www.penguinrandomhouse.com/books/101098/most-secret-war-by-r-v-jones/
- Smithsonian National Air and Space Museum. “The Battle of Britain.” https://airandspace.si.edu/stories/editorial/battle-britain
- Royal Historical Society. “Air Power and the Battle of Britain.” https://royalhistsoc.org/history-air-power/
- British Library. “Battle of Britain Collections.” https://www.bl.uk/collection-guides/battle-of-britain
- German Historical Institute London. “Luftwaffe Strategy and Doctrine.” https://www.ghil.ac.uk/research/fields-of-research/war-and-conflict
- US Army Air Forces Historical Studies. “German Air Doctrine.” https://media.defense.gov/2010/Mar/23/2001329891/-1/-1/0/AFD-100323-030.pdf
- Bundesarchiv (Germany). “Luftwaffe Records 1939–1940.” https://www.bundesarchiv.de/EN/Content/Artikel/Finden/Recherchieren/lufwaffe.html