Operation Dynamo: Strategic Withdrawal and the Preservation of the Allied Center of Gravity, May–June 1940
Executive Summary
The evacuation of the British Expeditionary Force (BEF) and French First Army from Dunkirk (May 26 – June 4, 1940) represents a unique anomaly in military history: a catastrophic tactical defeat that laid the foundation for ultimate strategic victory. Following the collapse of the Allied front in Belgium and the German breakthrough to the Channel coast, over 400,000 Allied troops were encircled in a shrinking pocket around the port of Dunkirk.
The subsequent evacuation, codenamed Operation Dynamo, was a triumph of improvisation over planning. It hinged on three critical variables: the controversial German “Halt Order,” the mobilization of the “Little Ships” to bridge the gap between shallow beaches and deep-draft destroyers, and the sacrificial rearguard action of the French Army. This article dissects the operational mechanics of the lift, the air superiority battle over the Channel, the logistical disarmament of the British Army, and the geopolitical stabilization of the Churchill government.
1. Introduction: The Anatomy of a Trap
By May 21, 1940, the German “Sickle Cut” (Sichelschnitt) maneuver had reached the English Channel at Abbeville. This operational stroke severed the lines of communication between the Allied armies in the north (Belgium) and their supply bases in the south (France). The trap contained the entire British Expeditionary Force (BEF), the Belgian Army, and the elite French 1st and 7th Armies.
General Lord Gort, commander of the BEF, realized as early as May 19 that the “Weygand Plan” (a proposed counter-attack from both north and south) was a fantasy. Facing the reality of annihilation, Gort made the unilateral decision to withdraw to the coast. This decision, technically insubordinate to the French Supreme Command, saved the British Army. The geography of the trap dictated the destination: Dunkirk, the only remaining port with facilities capable of handling a mass evacuation, albeit one damaged by Luftwaffe bombing.
IMAGE SUGGESTION 1
Subject: Strategic Map of the Dunkirk Pocket
Description: A map showing the shrinking Allied perimeter (May 26-June 4), the German pincer movements from Army Group A and B, and the single escape route across the English Channel.
Caption: “The Cauldron: Over 400,000 troops were compressed into a coastal strip less than 30 miles long, pinned against the sea.”
2. The German Halt Order: Operational Error or Political Calculus?
The survival of the BEF is inextricably linked to the famous “Halt Order” issued on May 24, 1940. This 48-hour respite allowed the Allies to fortify the canal perimeter protecting Dunkirk.
2.1. The Military Rationale
General Gerd von Rundstedt, commanding Army Group A, initiated the halt. His Panzer divisions had traveled 400 miles in two weeks; 50% of his tanks were unserviceable due to mechanical wear.
-
Terrain Anxiety: The terrain around Dunkirk (Flanders) was crisscrossed with canals and marshes—bad “tank country.” Rundstedt feared that committing his armor to this bog would degrade them before Fall Rot (the conquest of the rest of France).
-
The Flank Fear: The shock of the British counter-attack at Arras (May 21) made the German High Command (OKH) hypersensitive to their exposed southern flank.
2.2. Göring’s Hubris
The decisive intervention came from Hermann Göring, head of the Luftwaffe. He assured Hitler that his air force alone could annihilate the trapped army, rendering a ground assault unnecessary.
-
The Fatal Directive: Hitler validated Rundstedt’s caution and accepted Göring’s offer. Directive No. 13 ordered the Panzers to halt and authorized the Luftwaffe to “break the resistance of the encircled enemy.” This decision shifted the center of gravity from a ground assault to an air interdiction campaign, giving the Royal Navy a crucial window of opportunity.
IMAGE SUGGESTION 2
Subject: Heinz Guderian and Staff
Description: A photo of General Guderian looking frustrated or studying a map with his staff. Guderian furiously opposed the Halt Order.
Caption: “The Stopped Clock: Panzer commanders like Guderian watched helplessly as the British solidified their defenses during the 48-hour halt.”
3. Naval Logistics: The Room at Dover
The evacuation was orchestrated from the Dynamo Room in the cliffs beneath Dover Castle, led by Vice-Admiral Bertram Ramsay.
3.1. The Geographic Challenge
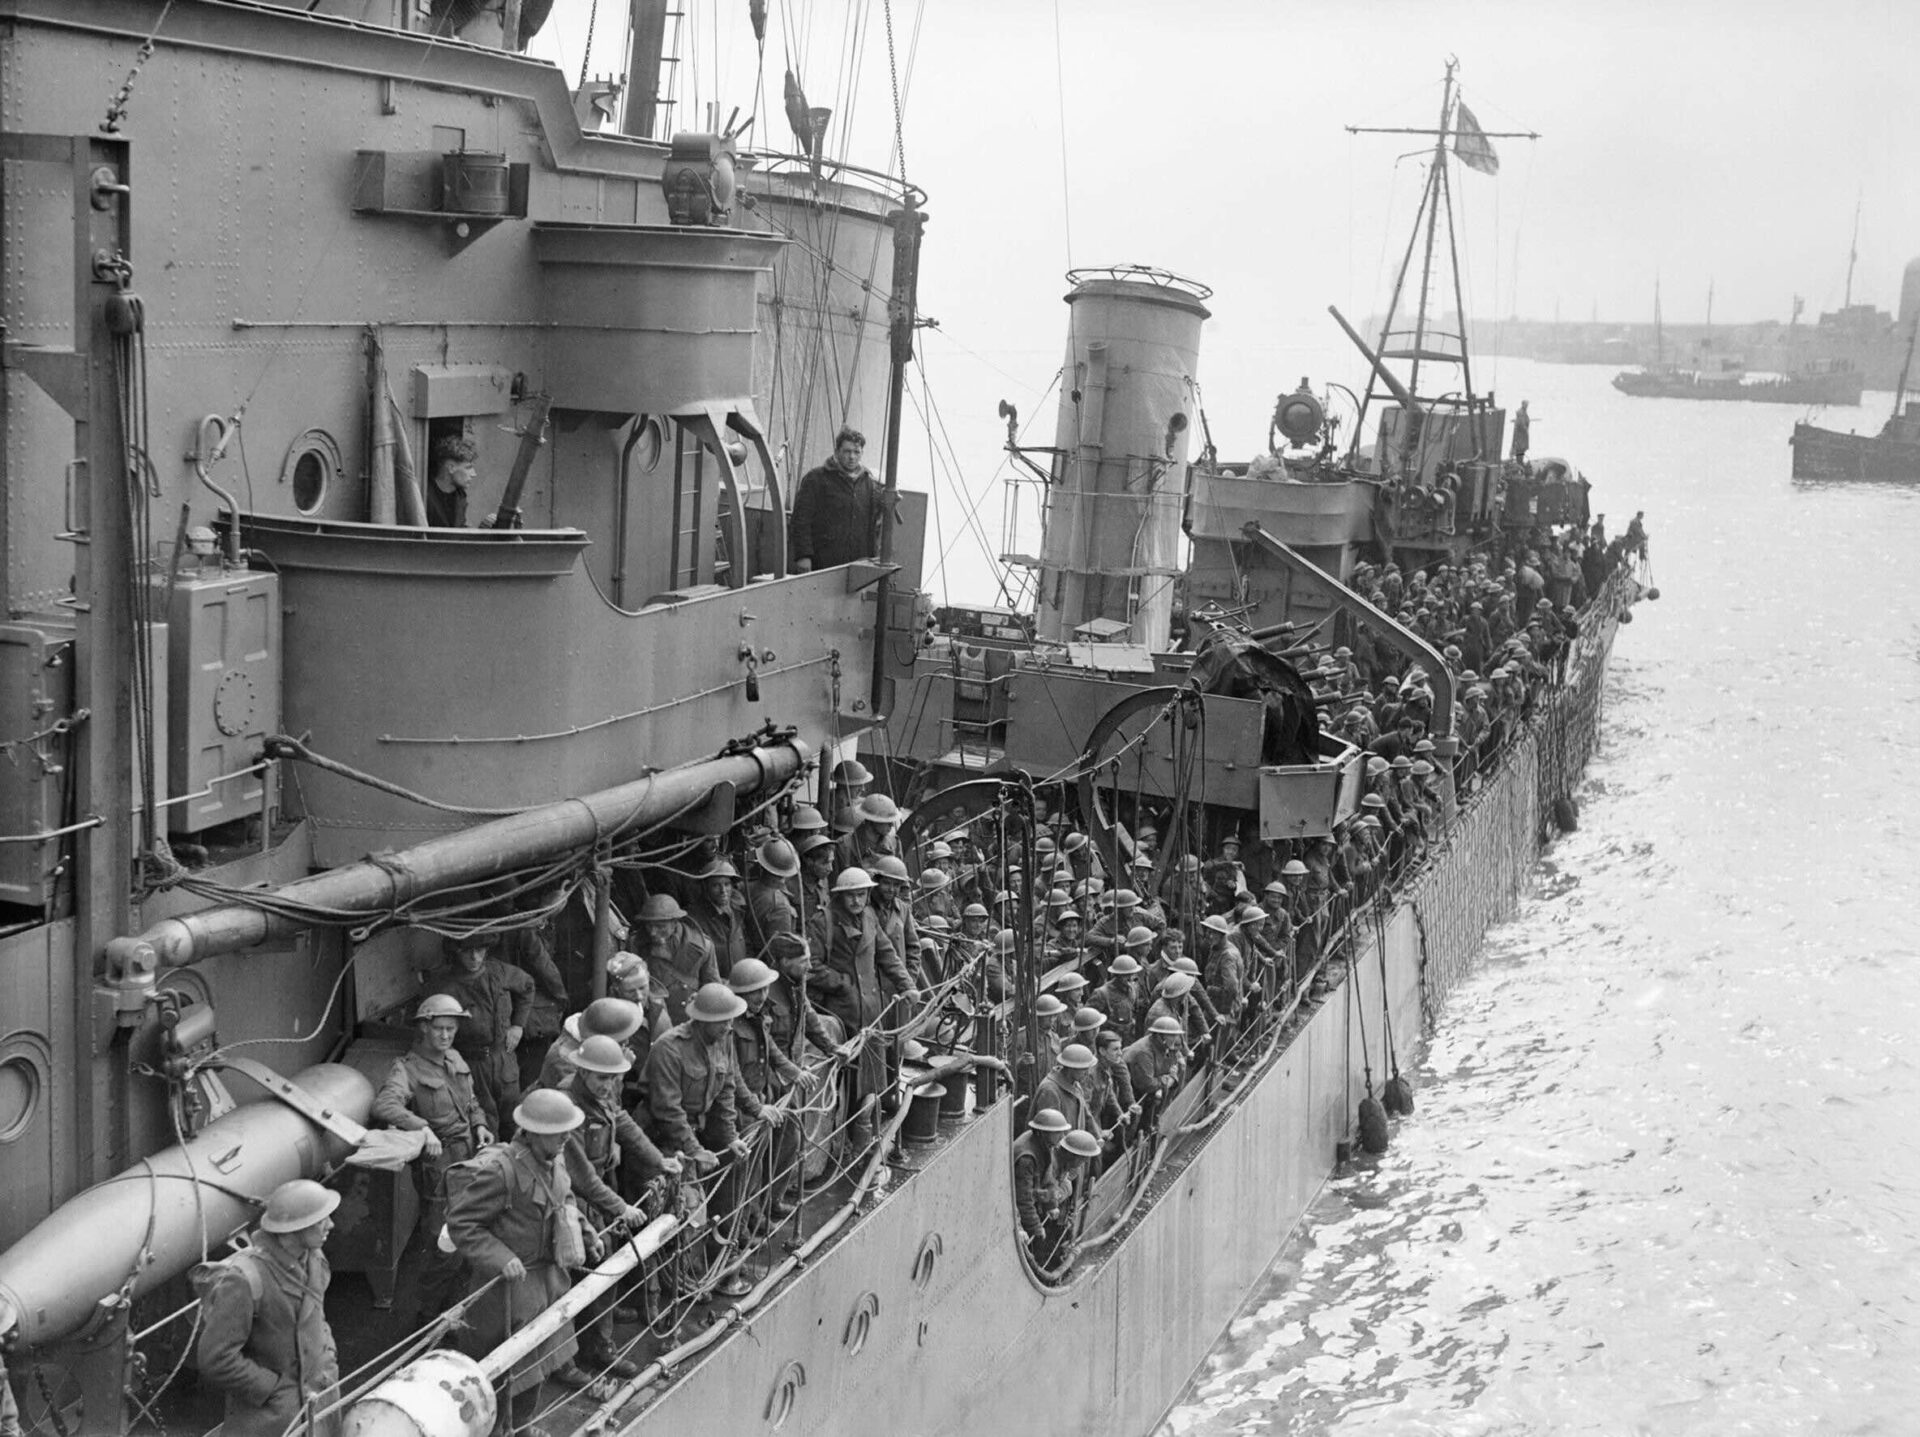
Dunkirk was a logistical nightmare. The harbor docks were destroyed by German bombing. The beaches shelved so gently that a destroyer drawing 10 feet of water had to anchor a mile offshore.
-
The East Mole: The breakthrough came with the utilization of the “East Mole”—a mile-long wooden breakwater protected by concrete piles. Though not designed for docking, Ramsay ordered ships to come alongside.
-
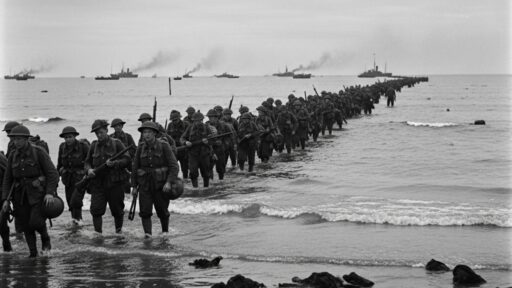
The Throughput: Of the 338,000 men rescued, nearly 240,000 were lifted directly from the East Mole. It became the lifeline of the operation, with destroyers berthing, loading 600-900 men in 45 minutes, and departing.
3.2. Route Z, X, and Y
Ramsay had to manage three sea routes across the mine-filled Channel:
-
Route Z (39 miles): The shortest but under direct German artillery fire from Calais.
-
Route X (55 miles): Safer from artillery but heavily mined and difficult to navigate.
-
Route Y (87 miles): The longest route, taking ships away from the coast before turning back to England. This doubled the transit time but was safer from shore batteries.
IMAGE SUGGESTION 3
Subject: The East Mole at Dunkirk
Description: A famous photo showing thousands of troops standing in a column along the narrow wooden breakwater (East Mole) waiting for destroyers.
Caption: “The Wooden Lifeline: The East Mole, never designed for docking, facilitated the rescue of nearly 240,000 troops.”
4. The Air War: The Invisible Umbrella
A persistent myth among the soldiers on the beaches was “Where is the RAF?” In reality, the Royal Air Force fought a desperate battle to establish local air superiority, but mostly inland, out of sight of the beaches.
4.1. Technical Matchup
This was the first major clash between the Supermarine Spitfire and the Messerschmitt Bf 109.
-
Fuel Limitations: RAF fighters operating from bases in Kent (e.g., Manston, Hawkinge) had limited loiter time over Dunkirk—often less than 40 minutes.
-
The Kill Ratio: Between May 26 and June 4, the RAF flew 4,822 sorties. They claimed 265 German aircraft destroyed (actual German losses were 156) for the loss of 106 RAF fighters.
4.2. Luftwaffe Limitations
Göring failed to deliver on his promise.
-
Weather: Poor weather grounded the Luftwaffe for several key days.
-
The Sand Problem: Bombs dropped on soft sand often buried themselves before exploding, reducing the blast radius and fragmentation effect. This significantly reduced casualties among the troops dispersed on the dunes.
IMAGE SUGGESTION 4
Subject: Air Combat Over Dunkirk
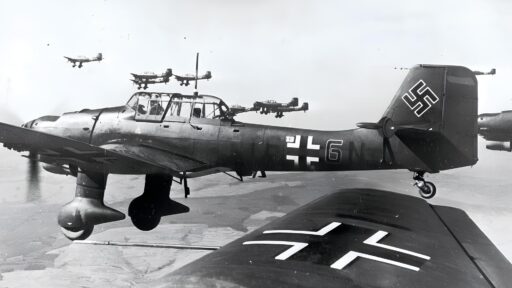
Description: An illustration or photo of a Spitfire engaging a German bomber (He 111 or Ju 87) over the Channel.
Caption: “The Invisible Battle: RAF fighters intercepted Luftwaffe formations inland, fighting a high-altitude war largely unseen by the troops below.”
5. The “Little Ships”: A Civil-Military Hybrid
While the destroyers did the heavy lifting, the “Little Ships” solved the “last mile” problem.
5.1. The Small Vessels Pool
The British Ministry of Shipping requisitioned over 700 private vessels: motor yachts, lifeboats, paddle steamers, and fishing trawlers.
-
The Function: These shallow-draft vessels could navigate the shoals to reach the beach. Their primary role was to ferry troops from the waterline to the larger ships anchored offshore.
-
Casualties: These civilian crews faced Stuka attacks, mines, and shelling. Many vessels, like the paddle steamer Gracie Fields, were sunk. The psychological impact of this “People’s War” effort on British morale was incalculable.
IMAGE SUGGESTION 5
Subject: The Little Ships
Description: A photo of a diverse collection of small civilian boats (yachts, trawlers) towing lifeboats full of soldiers.
Caption: “The Mosquito Fleet: Over 700 civilian vessels bridged the gap between the shallow beaches and the deep-water rescue ships.”
6. The French Rearguard: The Sacrifice at Lille
The evacuation would have been impossible without the sacrificial defense of the French First Army.
6.1. The Siege of Lille (May 28–31)
While the BEF retreated, General Jean-Baptiste Molinié and 40,000 French troops were surrounded at Lille.
-
The Resistance: They held off seven German divisions (including three Panzer divisions) for four critical days. They fought until they ran out of ammunition.
-
The Tribute: The German commander, General Waeger, was so impressed by the French defense that he granted them full military honors during their surrender—a rare event in WWII.
-
Strategic Impact: The Siege of Lille pinned down German forces that otherwise would have cut the retreat route to Dunkirk. It is estimated that the French defense at Lille bought the time to save at least 100,000 British soldiers.
IMAGE SUGGESTION 6
Subject: French Troops Defending Lille
Description: A photo of French soldiers manning a barricade or operating a 75mm field gun in an urban setting.
Caption: “Buying Time with Blood: The French First Army’s defense of Lille tied down seven German divisions, allowing the BEF to escape.”
7. The Equipment Disaster: Disarming the Army
Strategically, Operation Dynamo saved the personnel of the British Army, but tactically, it resulted in its total disarmament.
7.1. The Inventory of Loss
The BEF left France naked. Abandoned on the beaches and roads leading to Dunkirk were:
-
2,472 artillery pieces (including almost all heavy anti-tank and anti-aircraft guns).
-
63,879 vehicles (trucks, tank transporters).
-
20,548 motorcycles.
-
445 tanks (the entirety of Britain’s heavy armor).
-
76,000 tons of ammunition.
7.2. The Defense of Britain
In June 1940, the British Army in England had only enough equipment to fully arm two divisions. The rest of the troops were armed with rifles and improvised weapons. This material deficit would take aid from the United States (Lend-Lease) and a massive industrial mobilization to repair.
IMAGE SUGGESTION 7
Subject: Abandoned Vehicles on Dunkirk Beach
Description: A poignant photo of lines of British trucks and equipment driven into the sea or abandoned on the dunes, stretching to the horizon.
Caption: “The Cost of Survival: The BEF returned to England virtually unarmed, leaving a mountain of equipment for the Wehrmacht.”
8. Political Fallout: The Churchill Factor
The success of Dynamo had a profound political effect in London.
8.1. The War Cabinet Crisis (May 26-28)
During the evacuation, Foreign Secretary Lord Halifax argued for exploring peace terms with Hitler through Italian mediation, believing the military situation was hopeless.
-
Churchill’s Triumph: The successful return of the army strengthened Churchill’s hand. He was able to silence the defeatist faction within his cabinet.
-
“We Shall Fight on the Beaches”: On June 4, Churchill delivered his famous speech to the House of Commons. He framed Dunkirk not as a victory (warning “Wars are not won by evacuations”) but as a demonstration of national resolve.
IMAGE SUGGESTION 8
Subject: Churchill in the House of Commons
Description: An illustration or photo of Churchill addressing Parliament during the summer of 1940.
Caption: “Mobilizing the English Language: Churchill used the relief of Dunkirk to solidify political resolve against negotiation with Hitler.”
9. The French Evacuation and Resentment
It is often forgotten that Dynamo also rescued 123,000 French soldiers.
9.1. The “Bras-de-fer”
Initially, the British prioritized their own troops, causing immense friction between Churchill and French Prime Minister Reynaud. On May 30, Churchill ordered that the evacuation proceed on a “bras-de-fer” (arm-in-arm) basis, with equal numbers of British and French troops lifted.
-
The Return: Tragically, most of these French troops were immediately transported back to Brest and other French ports to continue the fight, only to be captured weeks later when France surrendered.
IMAGE SUGGESTION 9
Subject: French Troops Boarding British Ships
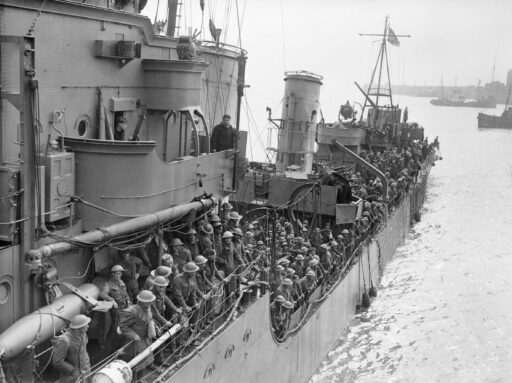
Description: A photo of French soldiers (identifiable by their Adrian helmets) boarding a Royal Navy destroyer.
Caption: “Partners in Defeat: Over 123,000 French soldiers were rescued, though many were returned to France only to be captured later.”
10. Conclusion: The Center of Gravity Preserved
Operation Dynamo was a logistical miracle that defied military probability. The Wehrmacht, usually a master of encirclement, failed to close the pocket due to a combination of political interference (the Halt Order), hubris (Göring), and rigid logistics.
Strategically, the evacuation preserved the Center of Gravity of the British war effort: the professional core of the British Army. While they lacked weapons, these 338,000 men provided the cadre of officers and NCOs who would train the conscript armies of 1941-1944. Without the “Old Contemptibles” saved at Dunkirk, the British Army would have ceased to exist as a functional institution, likely forcing Britain out of the war.
IMAGE SUGGESTION 10
Subject: Returning Troops in England
Description: A photo of exhausted but relieved British soldiers arriving at a railway station in England, being handed tea by civilians.
Caption: “The Nucleus of Victory: The survivors of Dunkirk formed the backbone of the future army that would land in Normandy four years later.”
References and Further Reading
-
Official History: Ellis, L.F. The War in France and Flanders 1939–1940. HMSO. (The official British military history).
-
Operational Analysis: Lord, Walter. The Miracle of Dunkirk. Penguin Books. (The definitive narrative history).
-
Naval Logistics: Gardner, W.J.R. The Evacuation from Dunkirk: Operation Dynamo, 26 May-4 June 1940. Routledge. (Focuses on Admiral Ramsay and naval mechanics).
-
German Perspective: Frieser, Karl-Heinz. The Blitzkrieg Legend: The 1940 Campaign in the West. Naval Institute Press. (Analyzes the Halt Order in detail).
-
Air War: Franks, Norman. Air Battle Dunkirk: 26 May – 3 June 1940. Grub Street. (Statistical analysis of RAF vs Luftwaffe).
-
Political History: Roberts, Andrew. Churchill: Walking with Destiny. Penguin. (Covers the War Cabinet crisis).
-
The French Role: Montefiore, Hugh Sebag. Dunkirk: Fight to the Last Man. Penguin. (Highlights the French defense of the perimeter).
-
Technical Data: The Association of Dunkirk Little Ships. History of the Little Ships.
-
Primary Source: Churchill, Winston. The Second World War, Vol. 2: Their Finest Hour. RosettaBooks.
-
Archive: Imperial War Museums. What Was Operation Dynamo?.
-
Unit History: Atkin, Ronald. Pillar of Fire: Dunkirk 1940.
-
Biography: Oxford Dictionary of National Biography. Ramsay, Sir Bertram Home.