The Chaos of Intervention: Allied Land Operations in Norway, April–June 1940
Executive Summary
The Allied land campaign in Norway, fought between April and June 1940, stands as a textbook example of military improvisation, logistical incoherence, and the fatal consequences of separating land operations from air superiority. Following the German invasion (Operation Weserübung), Britain and France scrambled to deploy expeditionary forces to Central and Northern Norway to support the crumbling Norwegian Army. The campaign was bifurcated into two distinct theaters: the disastrous pincer movement to retake Trondheim (Central Norway) and the prolonged, bitter siege of Narvik (Northern Norway).
While the Royal Navy secured the seas, the Allied land forces—comprising British Territorials, French Chasseurs Alpins, the Polish Independent Highland Brigade, and Norwegian conscripts—were systematically dismantled by the German Wehrmacht. The Germans possessed shorter lines of communication, superior tactical mobility (ski troops), and, most critically, total dominance of the skies. This article analyzes the operational failures of “Sickleforce” and “Mauriceforce,” the tactical brilliance of the German Gebirgsjäger, and the bittersweet victory at Narvik that was immediately nullified by the geopolitical collapse of France.
1. Introduction: The Politics of Panic
The Allied decision to land troops in Norway was not the product of a deliberate war plan but a reactive spasm to the German invasion of April 9, 1940. For months, the British War Cabinet, particularly Winston Churchill, had debated “Plan R 4″—a preemptive occupation of key Norwegian ports. When the Germans struck first, the Allied response was paralyzed by confusion.
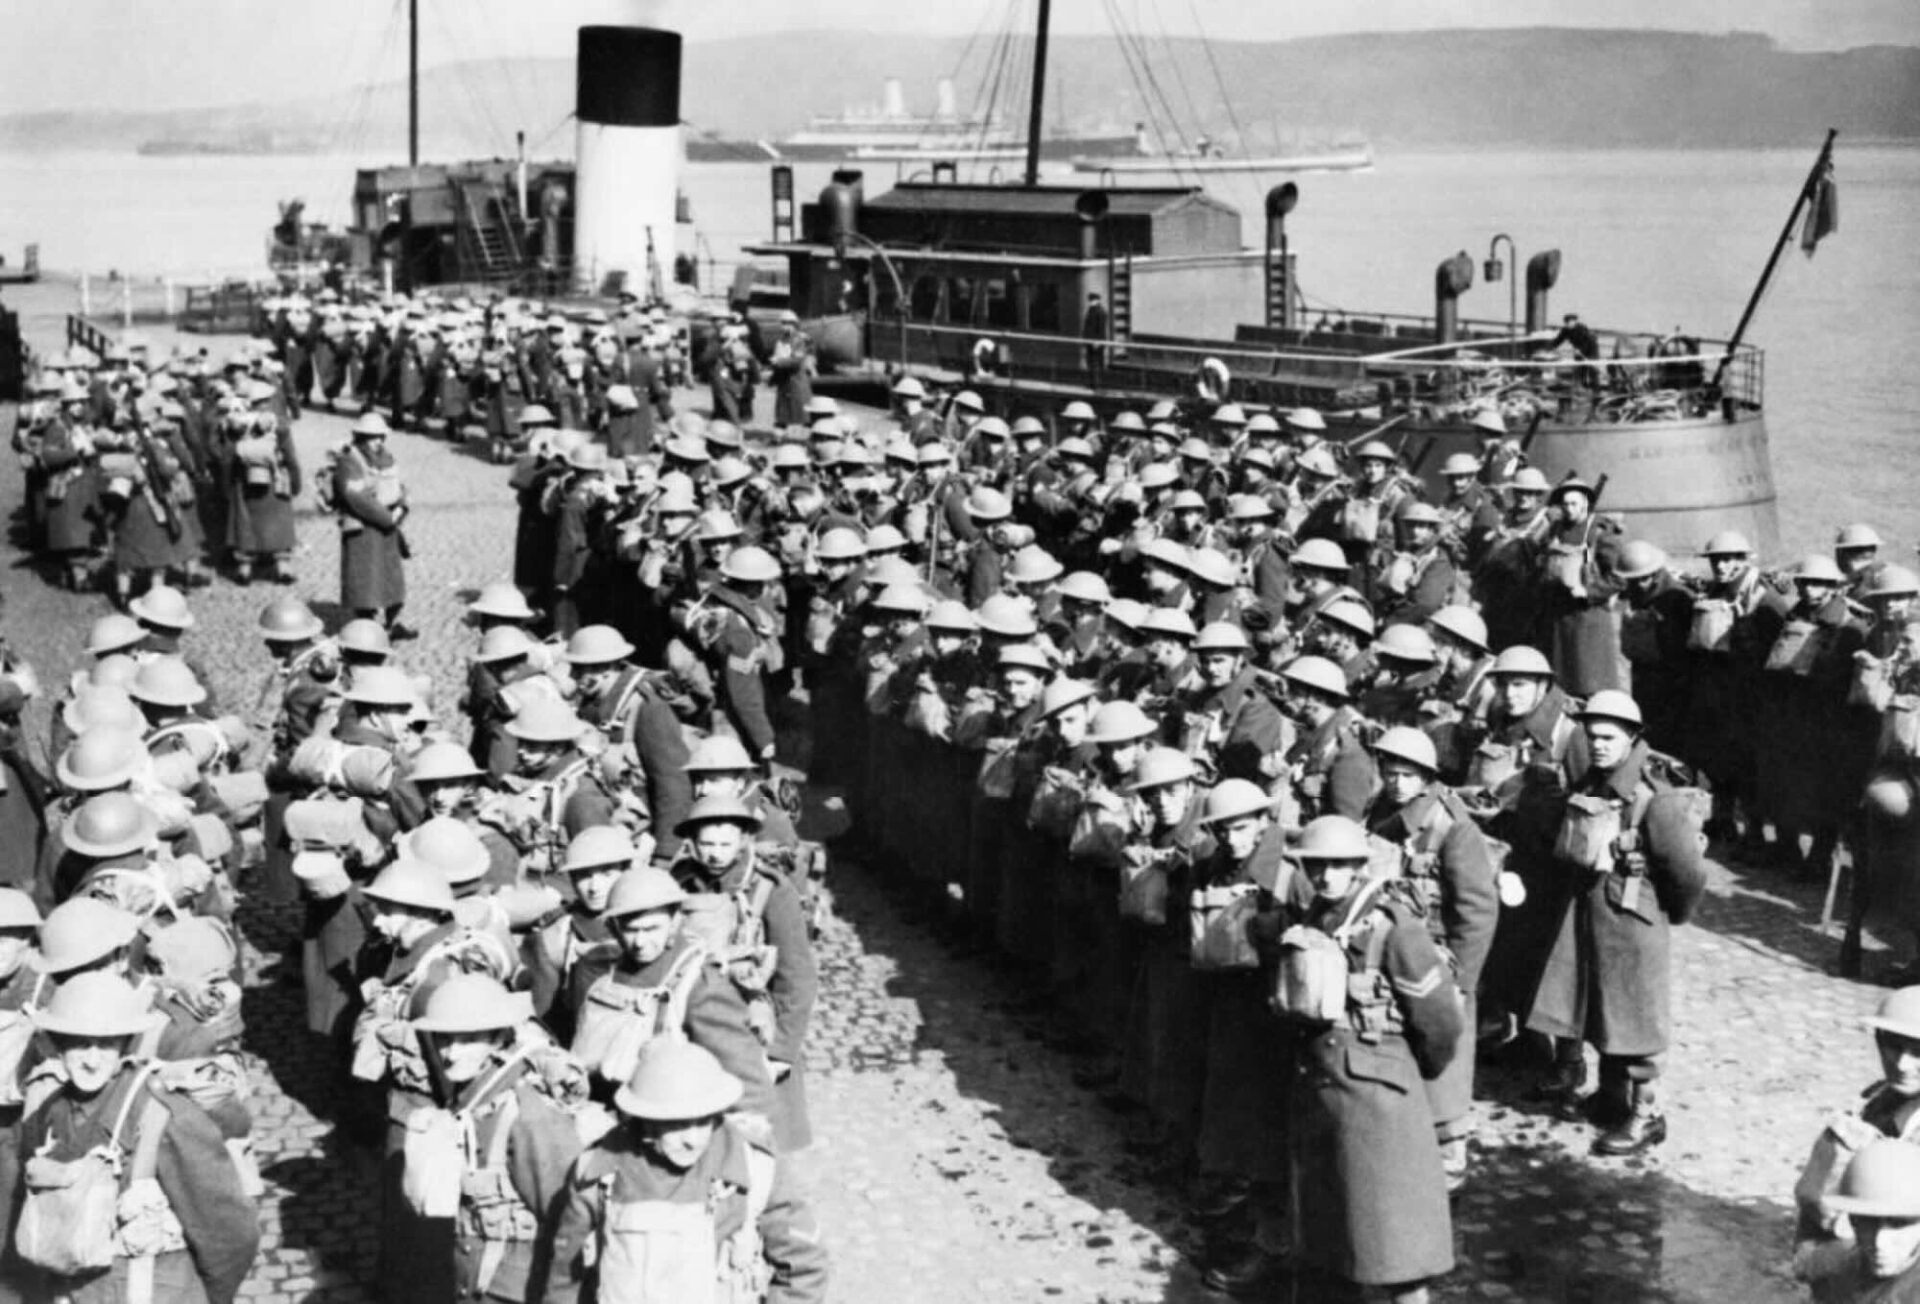
General Sir Edmund Ironside, Chief of the Imperial General Staff (CIGS), struggled to assemble a coherent force. The British Army was already fully committed to the British Expeditionary Force (BEF) in France. Consequently, the troops available for Norway were the “leftovers”: the 146th and 148th Infantry Brigades of the Territorial Army (reservists). These men were partially trained, lacked heavy weaponry, and crucially, were devoid of winter warfare equipment.
The strategic objective shifted rapidly. Initially, the goal was to retake Narvik. However, under pressure from the Norwegian Commander-in-Chief, General Otto Ruge, who was fighting a desperate delaying action north of Oslo, the Allies agreed to open a second front in Central Norway to retake the strategic city of Trondheim.
2. The Strategic Pincer: The Plan for Trondheim
Trondheim was the key. It possessed a deep-water port, an airfield (Værnes), and controlled the rail lines connecting North and South Norway. To retake it, the Allied High Command devised a pincer movement:
-
Operation Maurice (North): A force would land at Namsos, north of Trondheim, and advance south.
-
Operation Sickle (South): A force would land at Åndalsnes, south of Trondheim, and advance north.
-
Operation Hammer (Center): A direct amphibious assault on Trondheim itself.
However, the Royal Navy, fearing German air attacks and coastal artillery, persuaded the War Cabinet to cancel “Operation Hammer” at the last minute. This left the two flanking forces—Maurice and Sickle—to advance overland through deep snow, without heavy artillery or air support, against a dug-in enemy holding the central ground. It was a recipe for disaster.
IMAGE SUGGESTION 1
Subject: Map of Central Norway Campaign (1940)
Description: A strategic map showing the pincer movement: “Mauriceforce” landing at Namsos and moving south, “Sickleforce” landing at Åndalsnes and moving north, with the German forces in Trondheim and Oslo in the center.
Caption: “The Broken Pincer: The Allied strategy relied on converging on Trondheim from Namsos and Åndalsnes, a plan doomed by the cancellation of the central amphibious assault.”
3. Mauriceforce: Disaster at Namsos
Mauriceforce, commanded by the legendary but idiosyncratic Major General Adrian Carton de Wiart (a one-eyed, one-armed veteran of WWI), landed at Namsos on April 14.
3.1. The Equipment Debacle
The landing immediately exposed the logistical ineptitude of the operation. The 146th Brigade arrived on a transport ship, but their heavy equipment (anti-aircraft guns, transport vehicles, and mortars) had been loaded onto a separate ship, the Cedarbank.
-
The Sinking: On April 21, a German U-boat (U-26) torpedoed and sank the Cedarbank.
-
The Consequence: Mauriceforce was left with virtually no heavy weapons or transport. The soldiers had to move through heavy snow on foot. They lacked white camouflage uniforms, making them distinct dark targets against the white landscape for German pilots.
3.2. The Destruction of Namsos
Carton de Wiart attempted to move south toward Trondheim but was blocked at the village of Steinkjer by German destroyers in the Beitstadfjord and German mountain troops on land.
The Luftwaffe, operating from the captured Værnes airfield, subjected Namsos to relentless bombing. Since the Allies had no anti-aircraft guns (lost on the Cedarbank) and no air cover, the German Ju 87 Stukas operated with impunity. On April 20, they firebombed Namsos, reducing the wooden town to ash.
French reinforcements, the Chasseurs Alpins (Alpine Hunters), arrived later. While they were elite mountain troops equipped with skis, a bureaucratic error meant that the bindings for their skis were on a different ship that had not arrived. They, too, were rendered immobile in the deep snow.
IMAGE SUGGESTION 2
Subject: The Burning of Namsos
Description: A historical photo showing the town of Namsos completely engulfed in flames and smoke after a Luftwaffe raid. Skeletal remains of wooden houses are visible.
Caption: “Defenseless from Above: With no anti-aircraft guns, Namsos was obliterated by the Luftwaffe, destroying the Allied supply base.”
IMAGE SUGGESTION 3
Subject: Major General Adrian Carton de Wiart
Description: A portrait of General Carton de Wiart with his eyepatch and empty sleeve, looking stoic.
Caption: “The Indestructible Commander: General Carton de Wiart led Mauriceforce with immense personal bravery but lacked the tools to fight a modern war.”
4. Sickleforce: The Retreat from Åndalsnes
To the south, Sickleforce landed at Åndalsnes on April 17, commanded by Major General Bernard Paget. Their mission was ostensibly to push north to Trondheim, but they were immediately diverted south into the Gudbrandsdal valley to assist General Ruge’s exhausted Norwegian army, which was being pursued by the main German force advancing from Oslo.
4.1. The Battle of Kvam (April 25-26)
The defining engagement of the central campaign occurred at the village of Kvam. The British 15th Infantry Brigade, consisting of regular troops (KOYLI and York and Lancaster Regiment), attempted to hold the German advance.
-
The Tactics: General Paget established a defensive line. However, the Germans employed combined arms tactics that the British had not seen since 1918. German Panzer II tanks pushed up the valley road.
-
Anti-Tank Failure: The British anti-tank weapon was the Boys Anti-Tank Rifle, a .55 caliber shoulder-fired rifle. It proved utterly useless against the frontal armor of even light German tanks. The British 25-pounder artillery, which could have stopped the tanks, was scarce and short of ammunition.
-
The Flanking: Whenever the British held the road, German infantry using skis and snowshoes simply climbed the steep valley walls, outflanked the British positions, and fired down into them (enfilade fire). The British, road-bound and lacking winter gear, could not counter-maneuver.
4.2. The Tretten Gorge Disaster
As the British retreated from Kvam, the 148th Territorial Brigade tried to hold the line at Tretten Gorge. They were overrun by German tanks. The brigade commander, Brigadier Harold de Riemer Morgan, lost control of his force as communication lines were cut by German infiltrators. The unit effectively ceased to exist as a fighting force.
IMAGE SUGGESTION 4
Subject: British Troops in Norway (No Camouflage)
Description: British soldiers manning a Bren gun position in the snow. They are wearing standard khaki battle dress, making them highly visible against the white background.
Caption: “Target Practice: Lacking white camouflage, British troops stood out against the snow, making them easy prey for German snipers and aircraft.”
5. The Air War Paradox: The Frozen Lake Experiment
The critical failure of the land campaign was the total lack of air support. To address this, the RAF attempted a desperate improvisation. No. 263 Squadron RAF, flying Gloster Gladiator biplanes, was ordered to operate from the frozen surface of Lake Lesjaskogsvatnet.
5.1. The Melting Airfield
On April 24, 18 Gladiators landed on the ice. The ground crews, working in -20°C temperatures without proper shelters, struggled to refuel and rearm the planes using hand pumps.
-
The Destruction: The Luftwaffe discovered the airfield almost immediately. On April 25, Heinkel He 111 bombers attacked the lake. They used high-explosive bombs not just to destroy the planes, but to shatter the ice.
-
The Result: The Gladiators that weren’t destroyed by bombs sank into the slush as the ice surface broke up. Within 48 hours, the squadron was wiped out as an operational unit. This failure sealed the fate of Sickleforce; without air cover, evacuation was the only option.
IMAGE SUGGESTION 5
Subject: Gloster Gladiators on Lake Lesjaskogsvatnet
Description: A historical photo of Gladiator biplanes parked on the frozen lake, with ground crews working in the snow.
Caption: “The Ice Airfield: The RAF attempted to operate from a frozen lake, but the Luftwaffe bombed the ice, destroying 263 Squadron.”
6. The Evacuation of Central Norway
By late April, it was clear that both Namsos and Åndalsnes were untenable. The decision to evacuate was taken by the War Cabinet, devastating the Norwegian government.
-
The King’s Escape: King Haakon VII and his cabinet were evacuated from Molde by the cruiser HMS Glasgow under heavy air attack.
-
The Losses: During the evacuation, the French destroyer Bison and the British destroyer Afridi were sunk by Stukas. By May 2, Central Norway was entirely in German hands.
7. The Siege of Narvik: The Multinational War
While Central Norway collapsed, the war in the north continued. General Eduard Dietl, commanding the German 3rd Mountain Division, held Narvik with 2,000 elite Gebirgsjäger and 2,600 sailors from the sunken German destroyers.
Against him was ranged a cosmopolitan Allied force commanded by General Claude Auchinleck (who replaced General Mackesy):
-
French: The 13th Demi-Brigade of the Foreign Legion and Chasseurs Alpins.
-
Polish: The Independent Highland Brigade (Samodzielna Brygada Strzelców Podhalańskich) under General Zygmunt Bohusz-Szyszko.
-
Norwegian: The 6th Division under General Carl Gustav Fleischer.
7.1. Tactical Success
Unlike the south, the Allies in Narvik had proper mountain troops. The French Alpini and the Norwegians pushed the Germans steadily back toward the Swedish border.
-
The Bjørnfjell Pocket: By late May, Dietl’s forces were encircled in a small pocket at Bjørnfjell near the Swedish border. They were low on ammunition and food, supplied only by air drops.
-
The Assault (May 28): The Allies launched a coordinated assault. The French Foreign Legion landed at Herjangsfjord, while the Poles attacked from the south and the Norwegians from the north. On May 28, Narvik was captured—the first major Allied land victory of World War II.
IMAGE SUGGESTION 6
Subject: French Chasseurs Alpins
Description: French Alpine troops in white smocks and berets, carrying skis and rifles, moving through the rocky, snowy terrain near Narvik.
Caption: “Specialists in the Snow: Unlike the British infantry, the French Chasseurs Alpins were trained for mountain warfare.”
IMAGE SUGGESTION 7
Subject: German Gebirgsjäger at Narvik
Description: German mountain troops in defensive positions among the rocks, operating an MG34 machine gun. They wear the ‘Edelweiss’ emblem.
Caption: “Dietl’s Elite: The German Gebirgsjäger held out for weeks against superior numbers thanks to superior terrain usage.”
IMAGE SUGGESTION 8
Subject: Polish Highland Brigade
Description: Polish soldiers in Greatcoats and distinct helmets/capes at Narvik.
Caption: “The Exiles Fight Back: The Polish Independent Highland Brigade played a crucial role in the final assault on Narvik.”
8. Operation Alphabet: The Betrayal of Victory
The capture of Narvik was a hollow triumph. By May 28, the German Blitzkrieg in France had shattered the Allied front. The British Expeditionary Force was trapped at Dunkirk.
-
The Decision: On May 24, London secretly ordered the total evacuation of Norway (Operation Alphabet). The troops winning at Narvik were desperately needed to defend Britain from invasion.
-
The Deception: The Allies kept the evacuation secret from the Norwegians until the last moment to ensure the Norwegian army continued to fight and cover the retreat.
-
The Destruction: Before leaving, Allied engineers destroyed the ore loading docks and the electric power station at Narvik to deny them to Germany.
-
The End: On June 8, the last Allied ships left. General Dietl re-occupied the town the next day. The Norwegian Army, abandoned and out of ammunition, surrendered on June 10.
IMAGE SUGGESTION 9
Subject: General Eduard Dietl
Description: A photo of General Dietl with Hitler or his staff. He became a Nazi propaganda hero, the “Hero of Narvik.”
Caption: “The Hero of Narvik: Despite losing the town tactically, Dietl emerged as a strategic victor due to the Allied withdrawal.”
IMAGE SUGGESTION 10
Subject: Allied Evacuation of Narvik
Description: Troops boarding launches to be taken to transport ships in the fjord. Smoke from destroyed port facilities rises in the background.
Caption: “The Hollow Victory: Allied troops evacuated Narvik days after capturing it, leaving the destroyed port to the Germans.”
9. Conclusion: Lessons in Joint Failure
The Allied land operations in Norway were a strategic failure born of tactical inadequacy. The campaign demonstrated three brutal lessons that would take the Allies years to unlearn:
-
Air Superiority is Prerequisite: Land operations cannot succeed without control of the air. The destruction of Namsos and Åndalsnes by the Luftwaffe proved that the Royal Navy could not protect ground troops from air attack.
-
Specialization Matters: Sending road-bound Territorial infantry to fight elite mountain troops in the snow was suicidal. The success of the French and Poles at Narvik showed that only specialized troops could compete in that terrain.
-
Unity of Command: The split command structure (Army vs. Navy, London vs. Field) paralyzed decision-making.
While the campaign destroyed the German surface fleet (as detailed in the previous analysis), the land war proved that the Wehrmacht was technically and doctrinally superior to the British Army of 1940. Norway was the dress rehearsal for the collapse of France.
References and Further Reading
-
Official History: Derry, T.K. The Campaign in Norway. HMSO (History of the Second World War: United Kingdom Military Series). (The official, detailed British government account).
-
Modern Operational History: Haarr, Geirr H. The Battle for Norway: April–June 1940. Seaforth Publishing. (The definitive modern analysis of the land and sea battles).
-
Biography: Carton de Wiart, Adrian. Happy Odyssey: The Memoirs of Lieutenant-General Sir Adrian Carton de Wiart. Pen & Sword. (Primary source memoir of the Namsos commander).
-
Campaign Analysis: Adams, Jack. The Doomed Expedition: The Campaign in Norway, 1940. Pen & Sword.
-
Political Context: Kersaudy, François. Norway 1940. University of Nebraska Press. (Focuses on the diplomatic betrayal and the evacuation).
-
Unit History: RAF Museum. No. 263 Squadron History. (Details the frozen lake incident).
-
Polish Contribution: Peszke, Michael Alfred. Poland’s Navy, 1918-1945. (Includes details on the Polish Highland Brigade transport and support).
-
French Contribution: Chemins de Mémoire. The Chasseurs Alpins and the Liberation of France. (Context on the Alpine troops deployed to Narvik).
-
Weaponry: Royal Armouries. Boys Anti-Tank Rifle. (Technical details on the failed anti-tank weapon).
-
Biography: Oxford Dictionary of National Biography. Paget, Sir Bernard. (Profile of the commander of Sickleforce).
-
Museum Resource: Narvik War Museum. Land Battles 1940.
-
Tactical Study: Lunde, Henrik O. Hitler’s Pre-Emptive War: The Battle for Norway, 1940. Casemate. (Analysis of German vs Allied tactics).