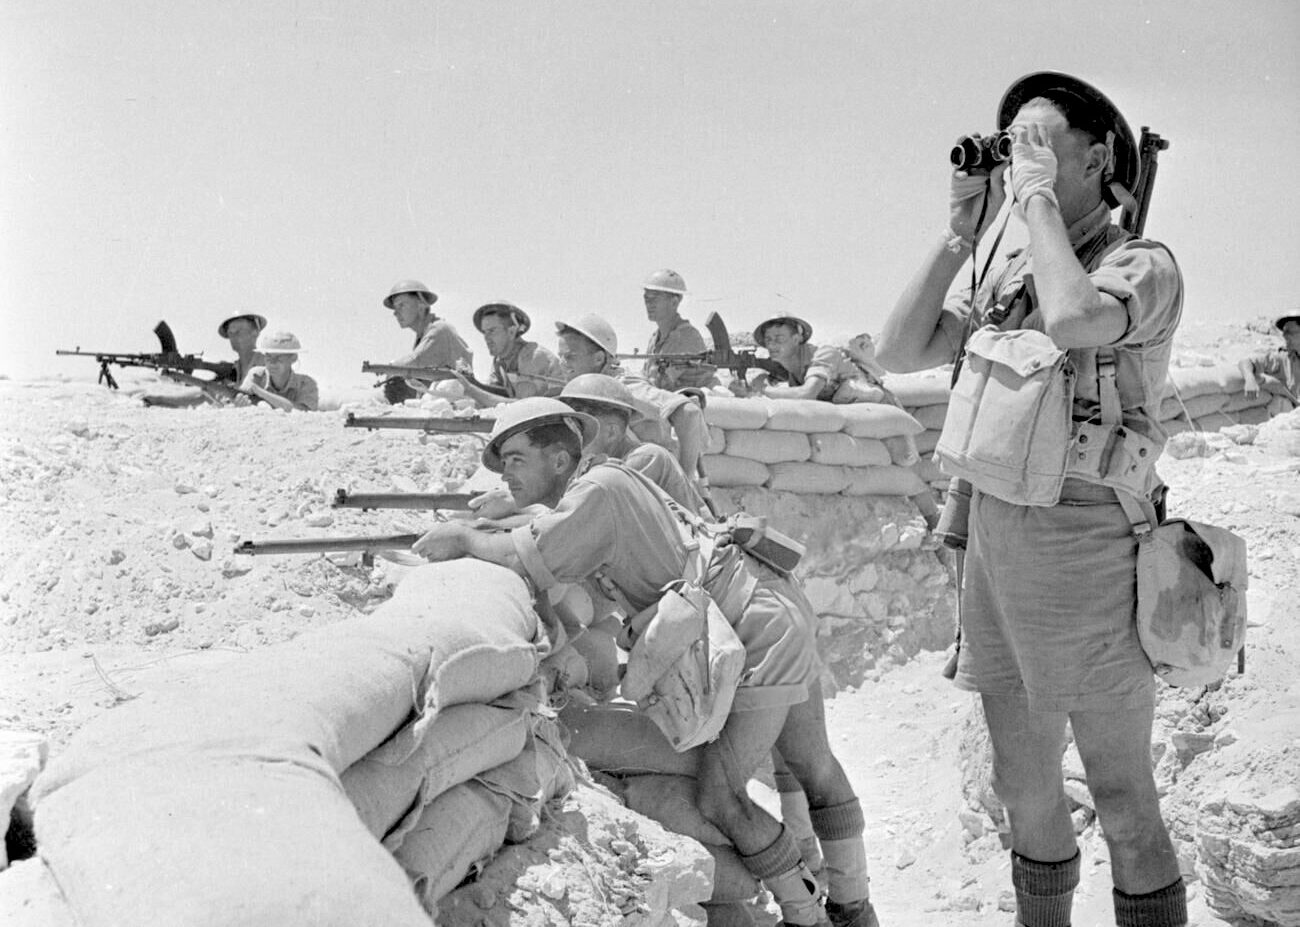
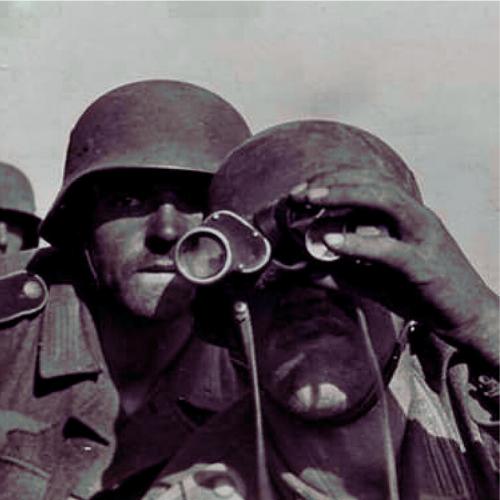
A Tactician’s Paradise, A Quartermaster’s Hell
While the Battle of Britain raged in the skies over England and the Wehrmacht prepared to hurl itself against the Soviet Union, a very different kind of war was erupting on the southern shores of the Mediterranean. From 1940 to 1943, the deserts of Libya, Egypt, and Tunisia became the stage for a unique duel between the Allied and Axis powers.
The North African campaign was unlike any other theater in World War II. There were no cities to conquer (save for the ports), no civilians to occupy, and no forests to hide in. It was a war of pure maneuver, fought on a vast, flat billiard table of rock and sand. Military historians often compare the desert war to naval warfare: tanks were the ships, the vast desert was the ocean, and supply convoys were the lifeblood that kept the fleets afloat.
The stakes were incredibly high. For the British, holding Egypt meant protecting the Suez Canal—the artery of the British Empire connecting London to the oil of the Middle East and the resources of India. For the Axis, capturing Suez meant severing Britain’s jugular vein and potentially linking up with German forces in the Caucasus.
This article explores the seesaw battles of the Western Desert, the duel between Rommel and Montgomery, and the eventual entry of American forces that sealed the fate of the Axis in Africa.
[IMAGE 1 PLACEHOLDER: A strategic map of the North African theater (1940-1943), highlighting the coastline from Tripoli to Alexandria, the Qattara Depression, and the location of Malta in the Mediterranean.]
The Italian Gambit and Operation Compass (1940)
The conflict began not with German Panzers, but with Italian ambitions. Benito Mussolini, eager to recreate the Roman Empire and dominate the Mediterranean (“Mare Nostrum”), declared war on Britain and France in June 1940. In September, he ordered Marshal Rodolfo Graziani to invade Egypt from the Italian colony of Libya.
The Italian 10th Army was massive on paper—nearly a quarter of a million men. Facing them was the Western Desert Force, a paltry British presence of about 36,000 men under General Archibald Wavell. The Italians advanced cautiously, reaching Sidi Barrani (about 60 miles inside Egypt) before digging in and building a series of fortified camps.4 They went no further, paralyzed by logistical issues and a lack of motorized transport.
The British Counter-Stroke
In December 1940, the British launched “Operation Compass.” It was intended as a five-day raid but turned into a full-scale rout. Under the field command of General Richard O’Connor, British and Commonwealth troops (including the fierce 4th Indian Division and the 7th Armoured Division, the “Desert Rats”) exploited the gaps between the Italian forts.
The Italians were completely overwhelmed. The British “Matilda II” tanks, with their thick armor, were impervious to Italian anti-tank weapons. In ten weeks, O’Connor’s force advanced 500 miles, destroyed ten Italian divisions, and took 130,000 prisoners. The collapse was absolute. By February 1941, the British had captured Benghazi and were poised to take all of Libya.
[IMAGE 2 PLACEHOLDER: Italian prisoners of war in a massive column stretching into the horizon, guarded by a single British soldier or a light vehicle. Illustrating the scale of the Italian collapse during Operation Compass.]
Enter the Desert Fox (February 1941)
Hitler, appalled by the collapse of his Italian ally, decided to intervene. He could not afford the political humiliation of an Italian defeat, nor could he risk the British gaining total control of the Mediterranean. In February 1941, he dispatched a blocking force to Tripoli: the Deutsches Afrikakorps (DAK).
To command this force, Hitler chose a favorite general who had distinguished himself in the invasion of France: Erwin Rommel.
Rommel was ordered to hold the line and stay defensive. He immediately ignored these orders. Realizing the British were overstretched (many troops had been diverted to defend Greece), Rommel launched a lightning offensive in March 1941. The British, exhausted and utilizing worn-out tanks, were caught off guard.
The Rommel Myth
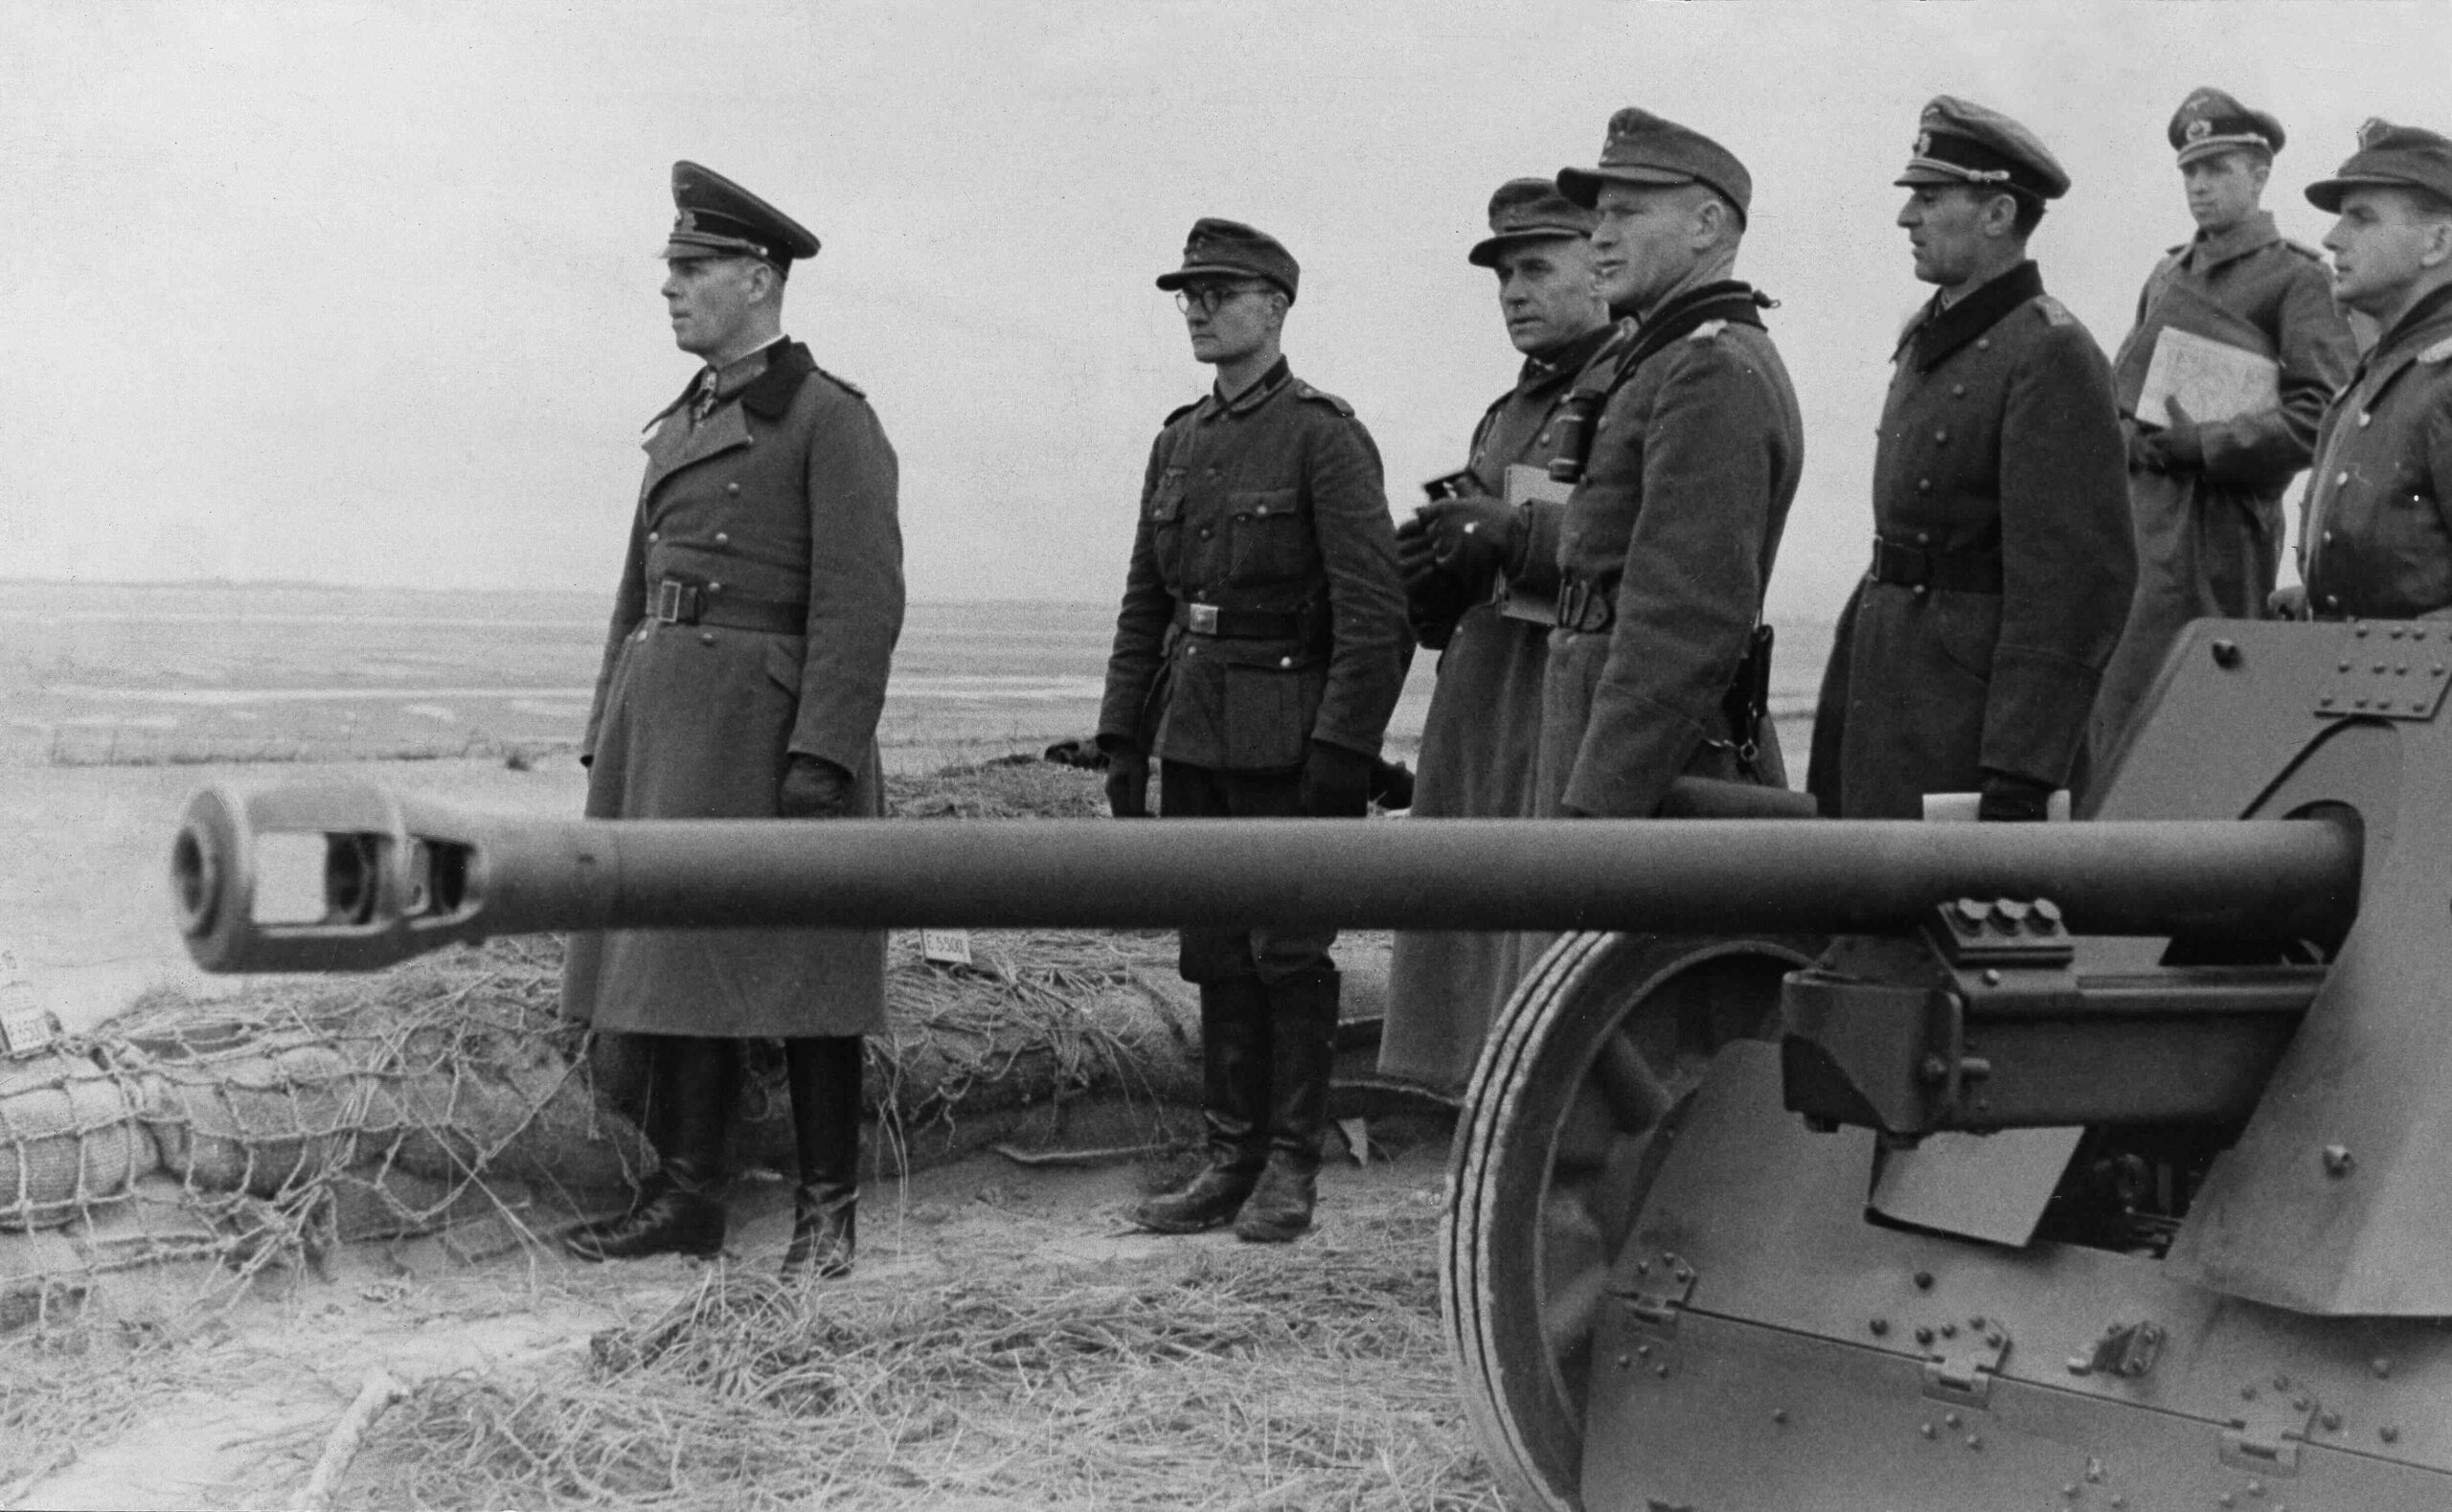
Rommel’s advance was terrifyingly fast. He utilized the “88mm” anti-aircraft gun as a devastating anti-tank weapon, shredding British armor at long range. By April, he had pushed the British out of Libya, back to the Egyptian border. Only one obstacle remained behind his lines: the port of Tobruk.
Rommel’s aggressive leadership earned him the nickname “The Desert Fox.” He led from the front, often flying over the battlefield in a Fieseler Storch aircraft, improvising tactics on the fly. To the British public and soldiers alike, he became a figure of begrudging respect and fear.
The Siege of Tobruk and Operation Crusader (1941)
Tobruk was vital. It was the only major port between Tripoli and Alexandria. As long as the Allies held it, Rommel could not invade Egypt because his supply lines would be threatened from the rear.
The garrison of Tobruk—primarily the Australian 9th Division, reinforced by British and Polish troops—held out against relentless German attacks and dive-bombing for 240 days. They called themselves the “Rats of Tobruk,” reclaiming the derogatory term used by German propaganda.
Operation Crusader
In November 1941, the British 8th Army, now under General Claude Auchinleck, launched “Operation Crusader” to relieve Tobruk. It was a chaotic, confused battle of swirling tank melees. At one point, Rommel boldly drove his tanks into the British rear areas (the “Dash to the Wire”), causing panic but failing to break Allied resolve.
Eventually, the weight of British numbers told. Rommel, critically low on fuel and supplies, was forced to retreat. Tobruk was relieved, and the Axis forces were pushed back to El Agheila. It seemed the Allies had won.
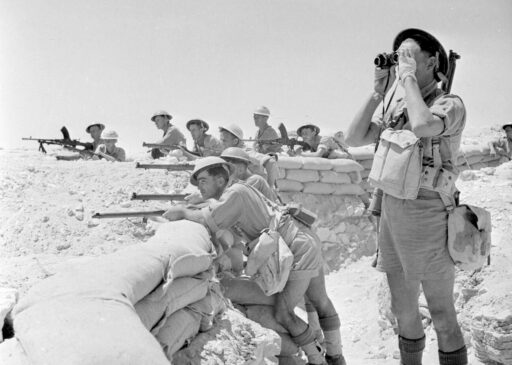
[IMAGE 4 PLACEHOLDER: The ruins of Tobruk harbor with sunken ships and defensive perimeter. Australian soldiers manning an anti-aircraft gun or Bren gun in a dusty dugout.]
The Pendulum Swings Back – Gazala (1942)
The war in North Africa was a pendulum. As one side advanced, their supply lines lengthened and they grew weaker; the retreating side fell back on their supply bases and grew stronger.
In January 1942, reinforced with new tanks and supplies, Rommel struck again. He pushed the British back to the “Gazala Line,” a series of minefields and fortified “boxes” west of Tobruk.
The Battle of Gazala (May–June 1942)
This was Rommel’s masterpiece. While the British expected a frontal assault, Rommel led his armored divisions on a wide sweeping flank around the southern end of the British line. Although he initially got stuck in “The Cauldron” and nearly ran out of fuel, British counter-attacks were piecemeal and uncoordinated. Rommel destroyed the British armor piece by piece.
The result was a catastrophe for the 8th Army. The Gazala Line collapsed. On June 21, 1942, Tobruk—the symbol of resistance—surrendered in a single day, along with 33,000 men and vast supplies. It was a humiliating blow to Winston Churchill.
Rommel was promoted to Field Marshal. He drove his exhausted men forward, crossing the border into Egypt, aiming for Alexandria. He was finally stopped in July at a small, obscure railway halt called El Alamein.
[IMAGE 5 PLACEHOLDER: A German Panzer III or IV advancing through the desert dust, with crew members visible. In the foreground, the wreckage of a British Crusader tank.]
-The Turning of the Tide – El Alamein (Late 1942)
At El Alamein, the geography of the war changed. To the north lay the Mediterranean Sea; to the south lay the Qattara Depression, a vast impassable salt marsh and quicksand pit. There were no open flanks. Rommel could not maneuver. He had to punch through head-on.
Enter Montgomery
In August 1942, a new commander arrived to lead the British 8th Army: Lieutenant-General Bernard Law Montgomery. “Monty” was prickly, arrogant, and methodical. He immediately restored morale, declaring, “There will be no more retreat.” He refused to attack until he had overwhelming superiority in men, artillery, and tanks (including the new American-made M4 Shermans).
The Second Battle of El Alamein (October 23 – November 11, 1942)
Montgomery launched “Operation Lightfoot” with a massive artillery barrage reminiscent of WWI. It was a grinding battle of attrition. Infantry had to clear paths through the “Devil’s Gardens” (massive German minefields) for the tanks.
Rommel, sick and in Germany when the battle started, rushed back but faced impossible odds. The Axis fuel situation was critical (thanks to the Royal Navy and RAF sinking tankers from Italy). After twelve days of brutal fighting, the Axis line broke. Rommel requested permission to retreat; Hitler ordered “Victory or Death.” Rommel, prioritizing his men, disobeyed and ordered a retreat.
Churchill famously wrote of this victory: “Before Alamein we never had a victory. After Alamein we never had a defeat.”
[IMAGE 6 PLACEHOLDER: The night sky at El Alamein lit up by the flashes of British artillery fire. Silhouettes of 25-pounder guns in action.]
Operation Torch – The American Entry (November 1942)
While Montgomery chased Rommel west across Libya, a new threat appeared in the Axis rear. On November 8, 1942, American and British forces landed on the beaches of Morocco and Algeria in “Operation Torch.” This was the first major American ground offensive of the European war.
Commanded by Dwight D. Eisenhower, the landings faced confused resistance from Vichy French forces (who eventually switched sides to join the Allies). Hitler responded by rushing troops to Tunisia to create a bridgehead, occupying the gap between the retreating Rommel and the advancing Americans.
Kasserine Pass: A Harsh Lesson
The inexperienced American troops, overconfident and poorly led, met battle-hardened German panzers at the Kasserine Pass in Tunisia in February 1943. It was a tactical disaster for the US II Corps. They were routed, losing huge amounts of equipment.
However, the Americans learned quickly. Heads rolled (General Fredendall was replaced by the aggressive George S. Patton), tactics were overhauled, and logistics were tightened. Kasserine was the growing pain the US Army needed to become a modern fighting force.
[IMAGE 7 PLACEHOLDER: American soldiers wading ashore from landing craft during Operation Torch in North Africa. A flag or US markings visible on their helmets/uniforms.]
[IMAGE 8 PLACEHOLDER: The aftermath of the Battle of Kasserine Pass. Destroyed American half-tracks and equipment in a valley setting, with German soldiers inspecting the wreckage.]
The End in Tunisia (May 1943)
By March 1943, the Axis forces were trapped in a shrinking pocket in northern Tunisia. They were squeezed from the east by Montgomery’s 8th Army and from the west by the US and British 1st Army.
Rommel, realizing the situation was hopeless, was recalled to Europe by Hitler in March (to save him from capture). The command fell to Hans-Jürgen von Arnim. The Allies controlled the air and sea completely (Operation Flax), cutting off all escape routes. It was a “Tunisgrad.”
On May 13, 1943, the Axis forces in North Africa surrendered. The Allies took over 230,000 prisoners—a number greater than the German losses at Stalingrad.
[IMAGE 9 PLACEHOLDER: A vast open field in Tunisia filled with thousands of German and Italian prisoners of war sitting on the ground, waiting for transport.]
Conclusion: The End of the Beginning
The victory in North Africa was pivotal. It secured the Suez Canal and the Middle Eastern oil fields. It reopened the Mediterranean to Allied shipping, removing the long trip around the Cape of Good Hope. Most importantly, it provided the launchpad for the invasion of Sicily and Italy (the “Soft Underbelly”).
Strategically, the campaign drained the Wehrmacht of men and resources that were desperately needed on the Eastern Front. It also forged the Anglo-American alliance in blood, teaching the two armies how to fight together.
As the sun set on the African war, the Allies looked north across the shimmering sea toward Europe. The “War in the Sand” was over; the Fortress Europe awaited.
[IMAGE 10 PLACEHOLDER: Allied soldiers (British and American) shaking hands or sharing cigarettes near a tank in Tunisia, symbolizing the successful link-up of the two armies.]
References and Recommended Sources
-
Atkinson, Rick. An Army at Dawn: The War in North Africa, 1942-1943 (The Liberation Trilogy, Vol. 1). Henry Holt and Co., 2002. (Winner of the Pulitzer Prize, this is the definitive account of the American entry into the war).
-
Moorehead, Alan.23 The Desert War: The North African Campaign 1940-1943. Penguin, 2009 (Reprint). (A classic trilogy written by a war correspondent who was there).
-
Barr, Niall.24 Pendulum of War: The Three Battles of El Alamein. Overlook Press, 2005. (A detailed operational history of the turning point of the campaign).
-
Rommel, Erwin. The Rommel Papers. Da Capo Press, 1982. (Rommel’s own diaries and letters, providing unique insight into his tactics and frustrations).
-
Imperial War Museums (IWM). “The North African Campaign”. (Primary sources, oral histories, and photography).
-
U.S. Army Center of Military History. Northwest Africa: Seizing the Initiative in the West. (The official US Army history of Operation Torch and Tunisia).